
Fixing the Micro Galaxy Squadron X-Wing Wing Gap
In this project, we address a common issue with the Micro Galaxy Squadron X-Wing model: the noticeable gap when closing the wings. This post, based on a detailed YouTube tutorial, outlines a straightforward method to fix this gap using minimal tools and careful application of heat. The result is a cleaner, more polished X-Wing model.
Project Overview
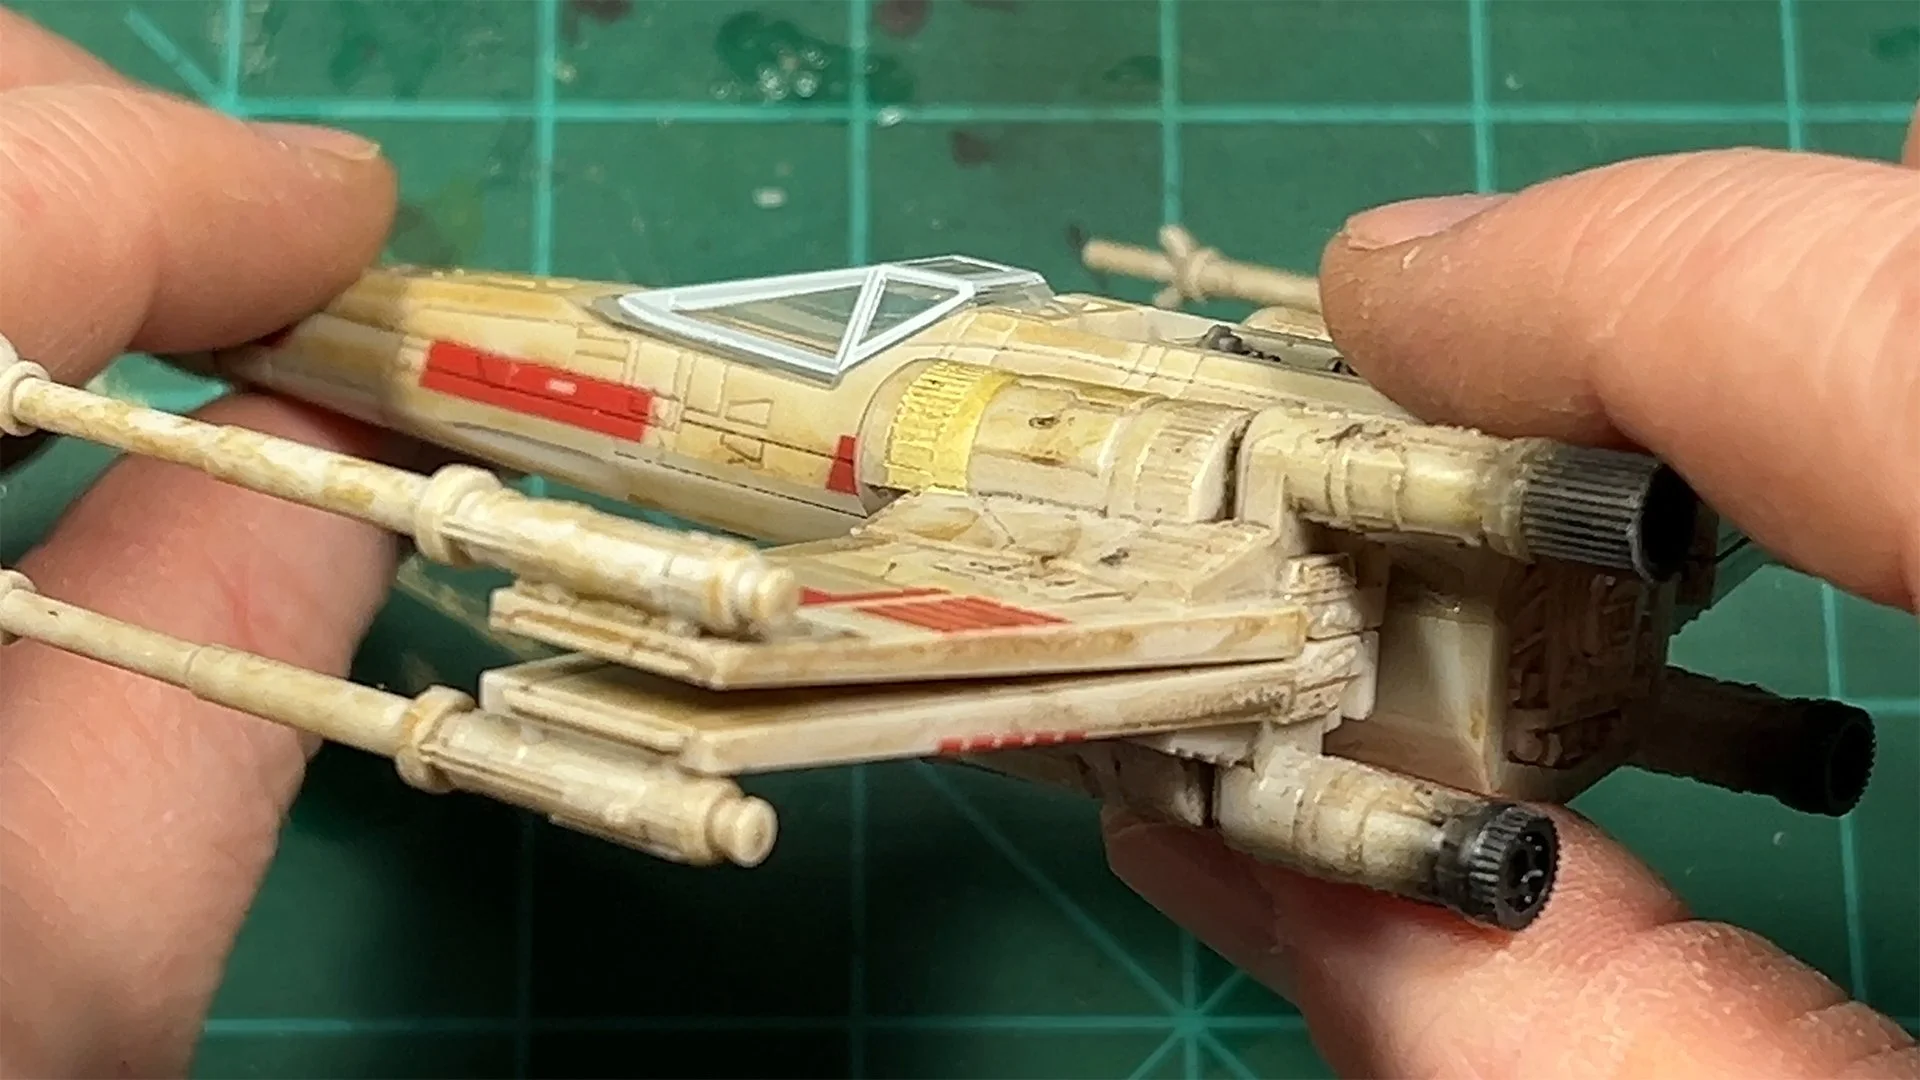
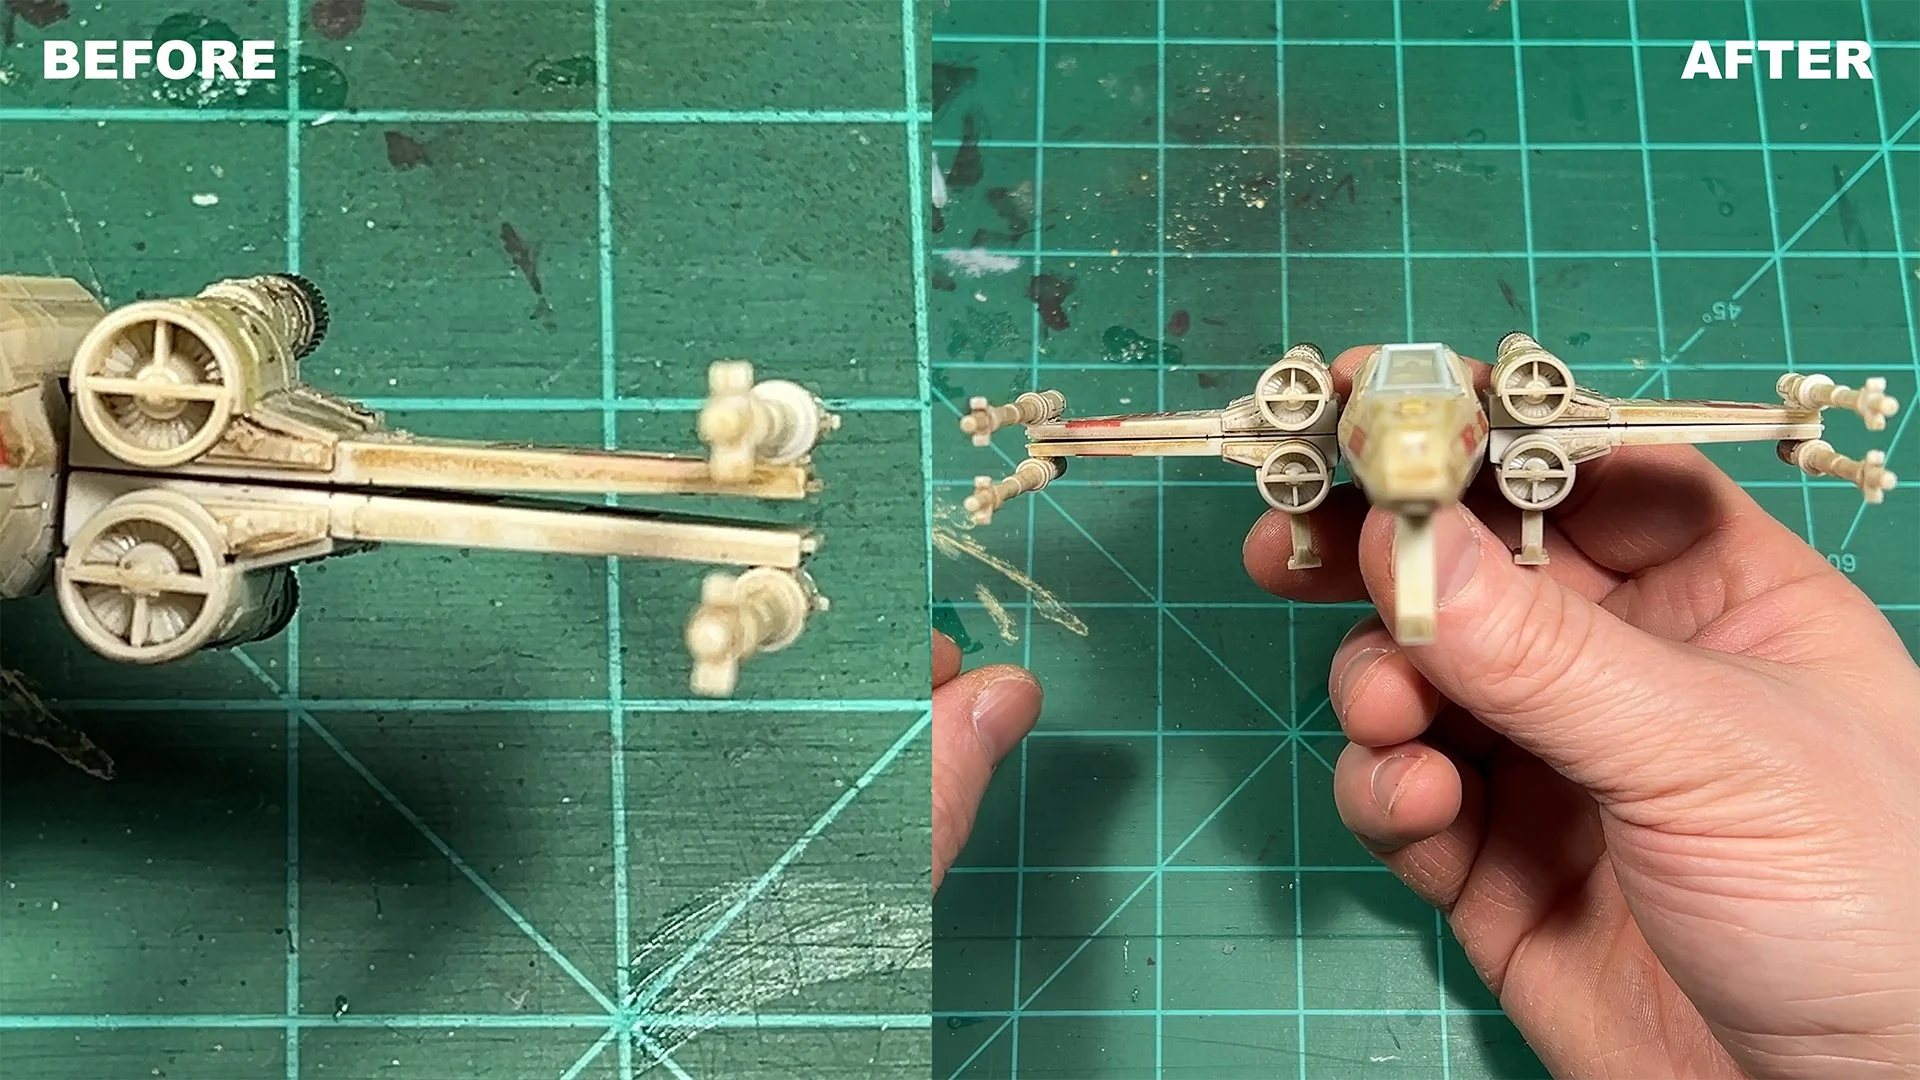
The Micro Galaxy Squadron X-Wing often has a slight bend in one of the wings, causing an unsightly gap when the wings are closed. By disassembling the model, applying heat to reshape the wing, and reassembling the components, this fix restores a flush appearance to the wings, enhancing the model's overall look.
Tools and Supplies
To complete this repair, you will need the following:
Mini Heat Gun https://amzn.to/3YlirCr
Small Phillips-head screwdriver
Flathead screwdriver or similar tool for prying
Star Wars 5-Inch X-Wing Starfighter Vehicle with Luke Skywalker & R2-D2 Micro Figures https://amzn.to/45Y4L44
Note: The links provided is are Amazon Affiliate links. Purchasing through this link may earn a commission, supporting the creation of more content.
Step-by-Step Process
1. Disassembling the X-Wing
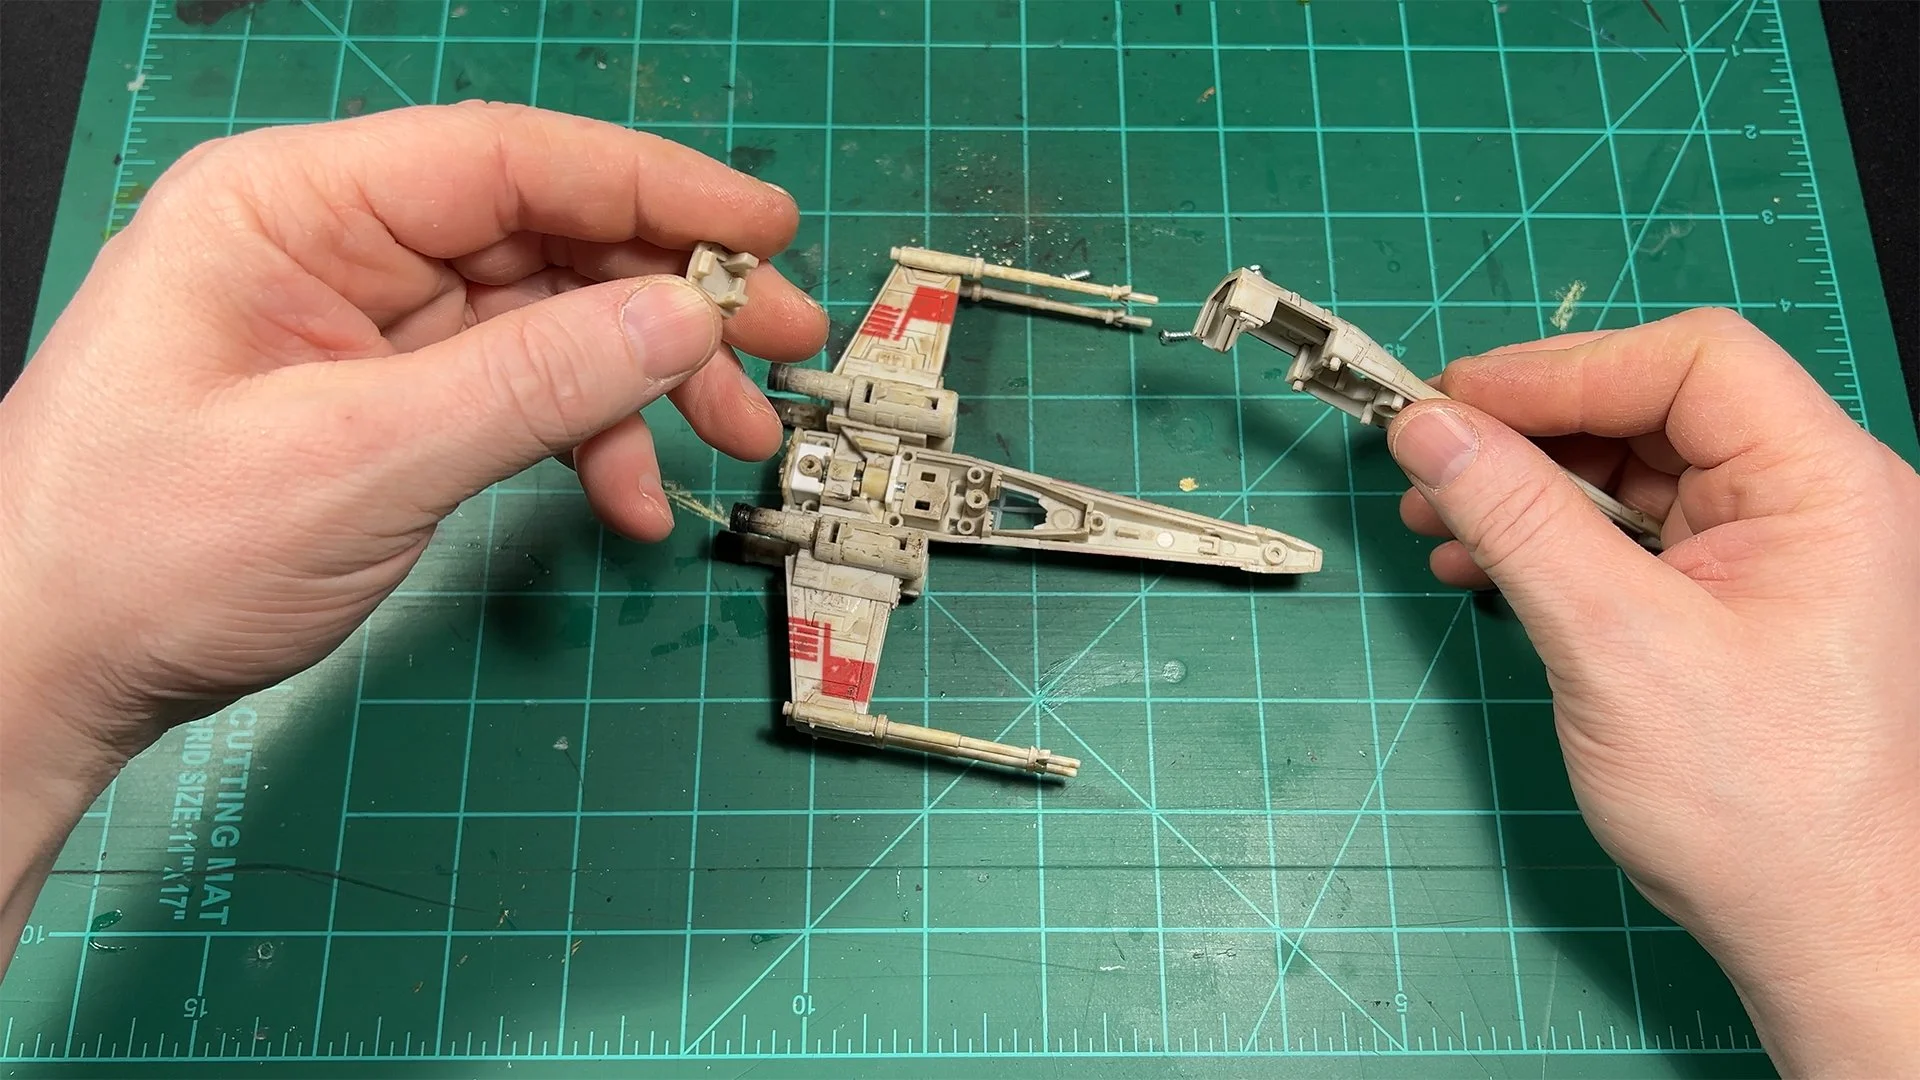
Begin by removing the wings to access the internal components:

Remove the Bottom Panel: Use a small Phillips-head screwdriver to remove the three screws securing the bottom panel. Note that the screw at the nose is shorter, while the two at the middle and back are longer. Some models may have a small dab of glue near the nose, which typically breaks free easily after unscrewing.
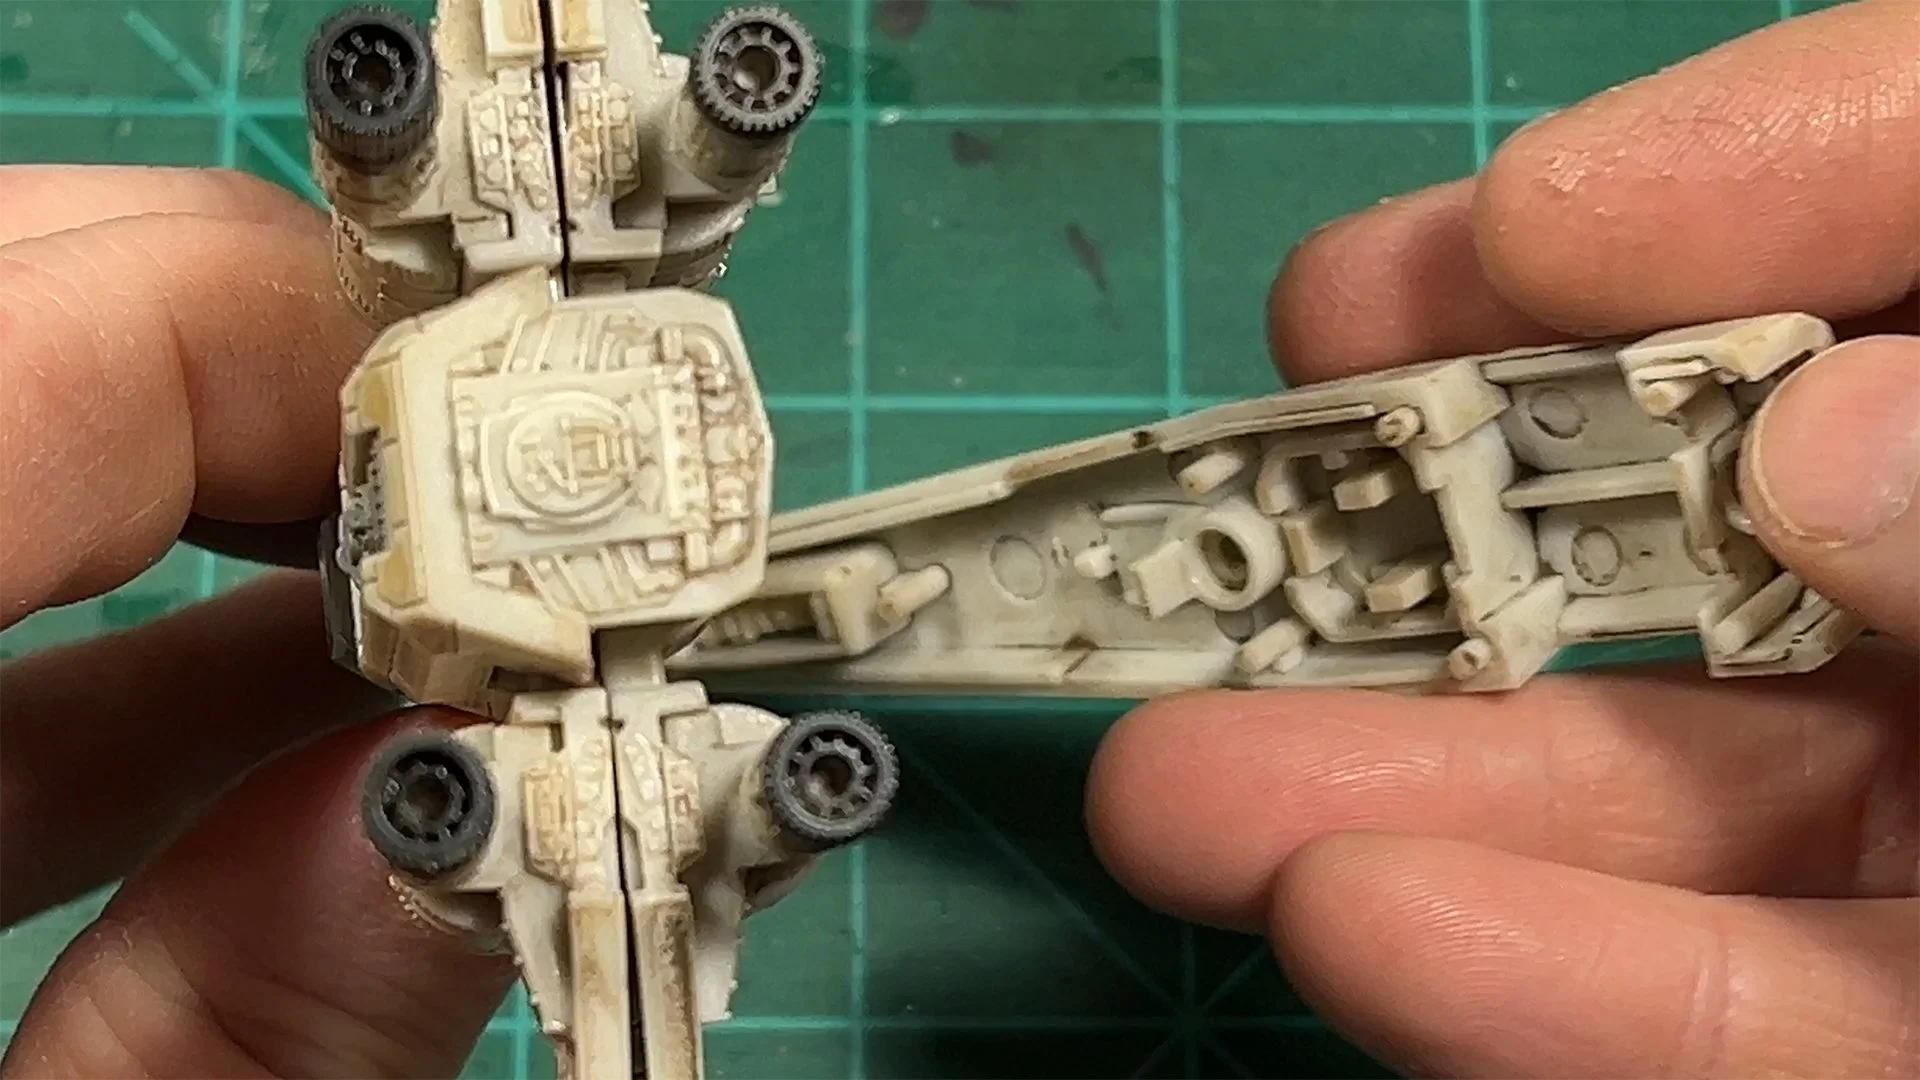
Pry Open the Assembly: Gently insert a flathead screwdriver or use your fingers to pry open the gap and separate the bottom panel, exposing the interior.
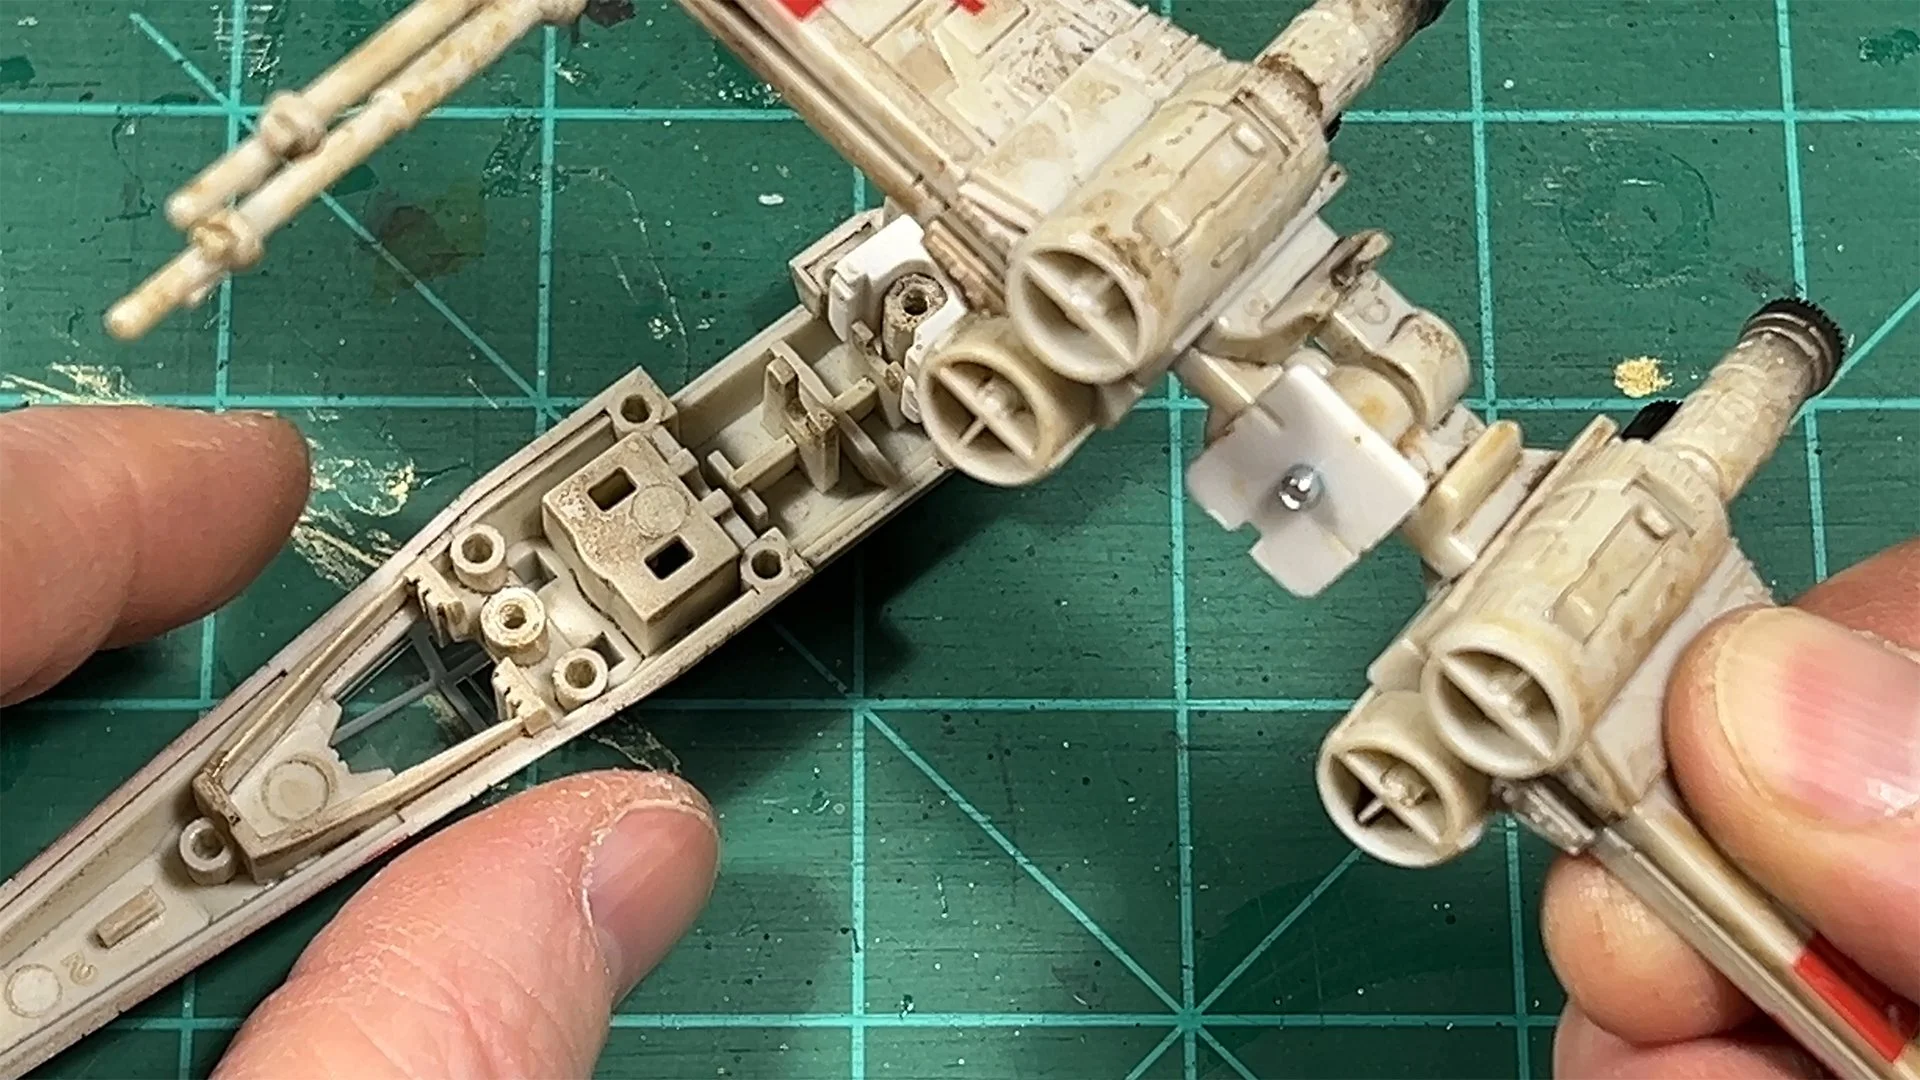
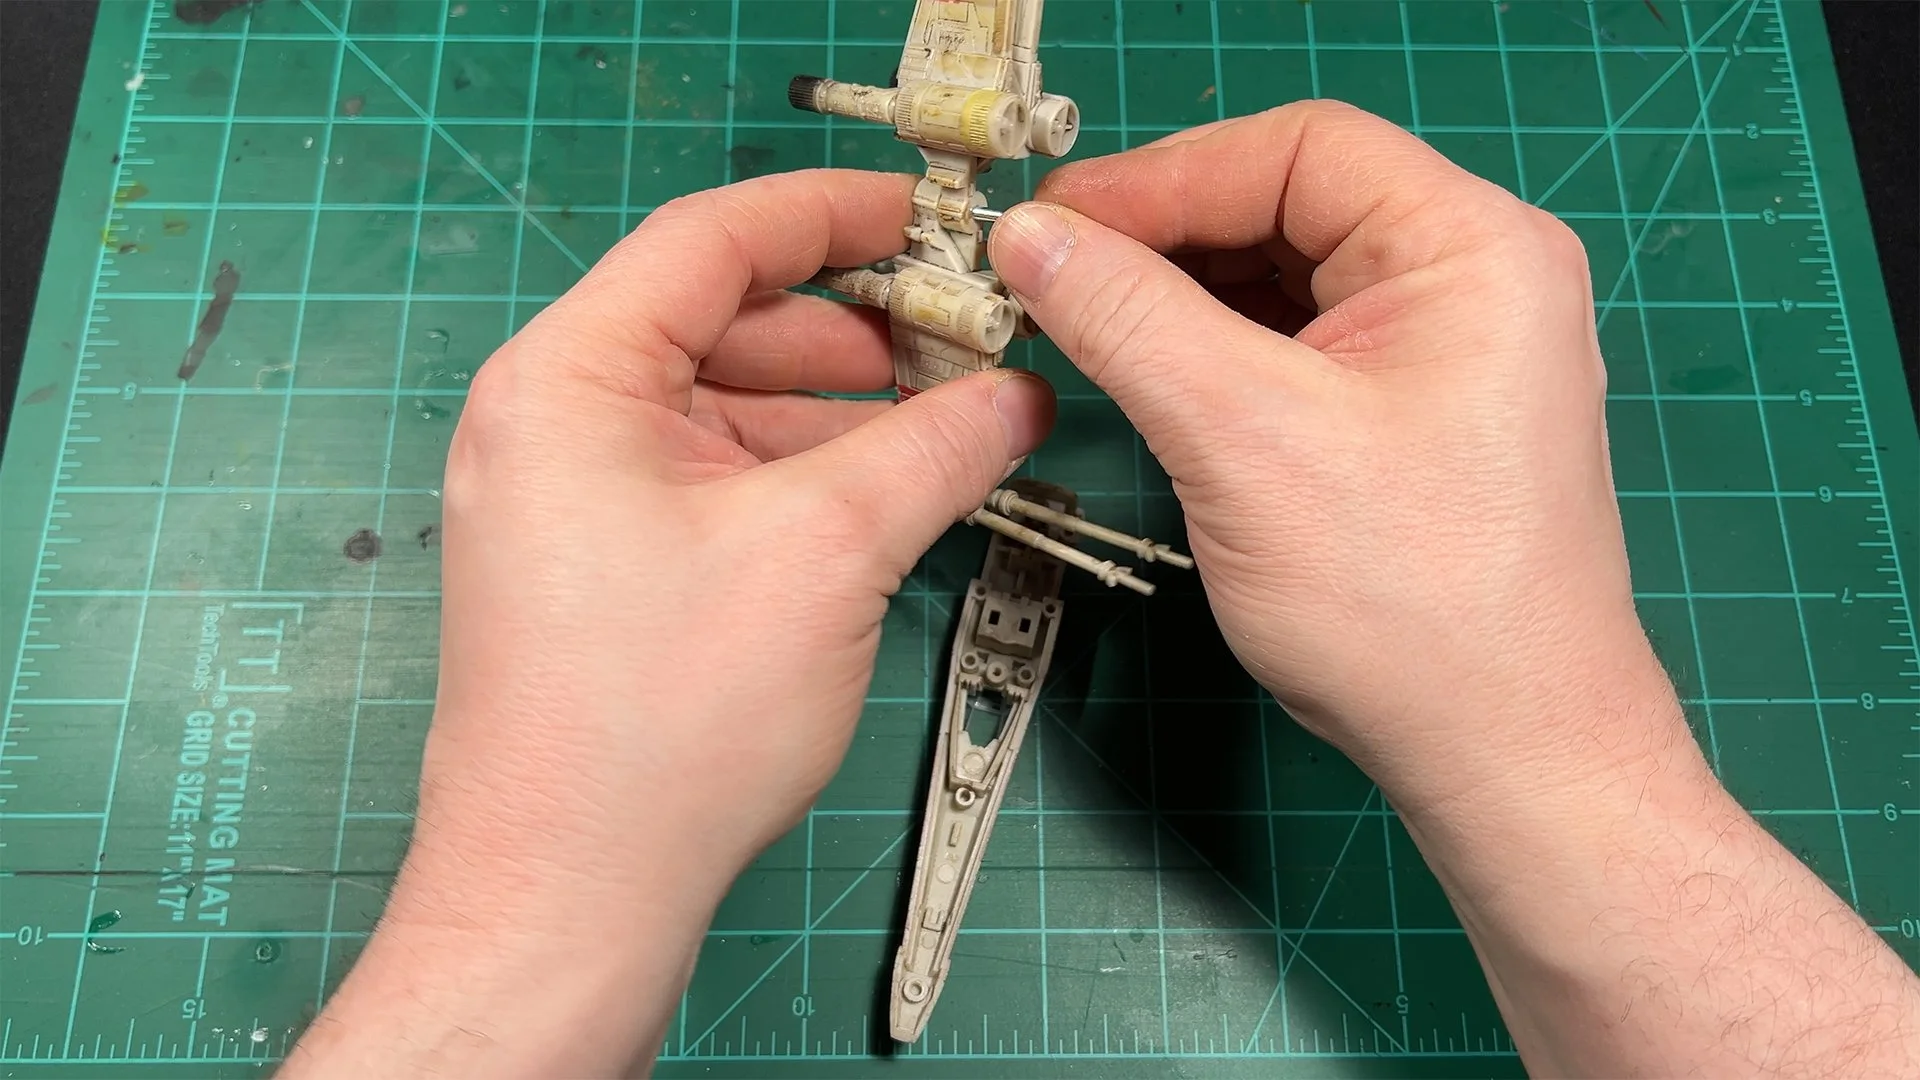
Remove Wing Components: Carefully detach the two wing pieces, along with a small white plate and a metal pin that secure the wings to the body.
2. Identifying and Correcting the Wing Bend
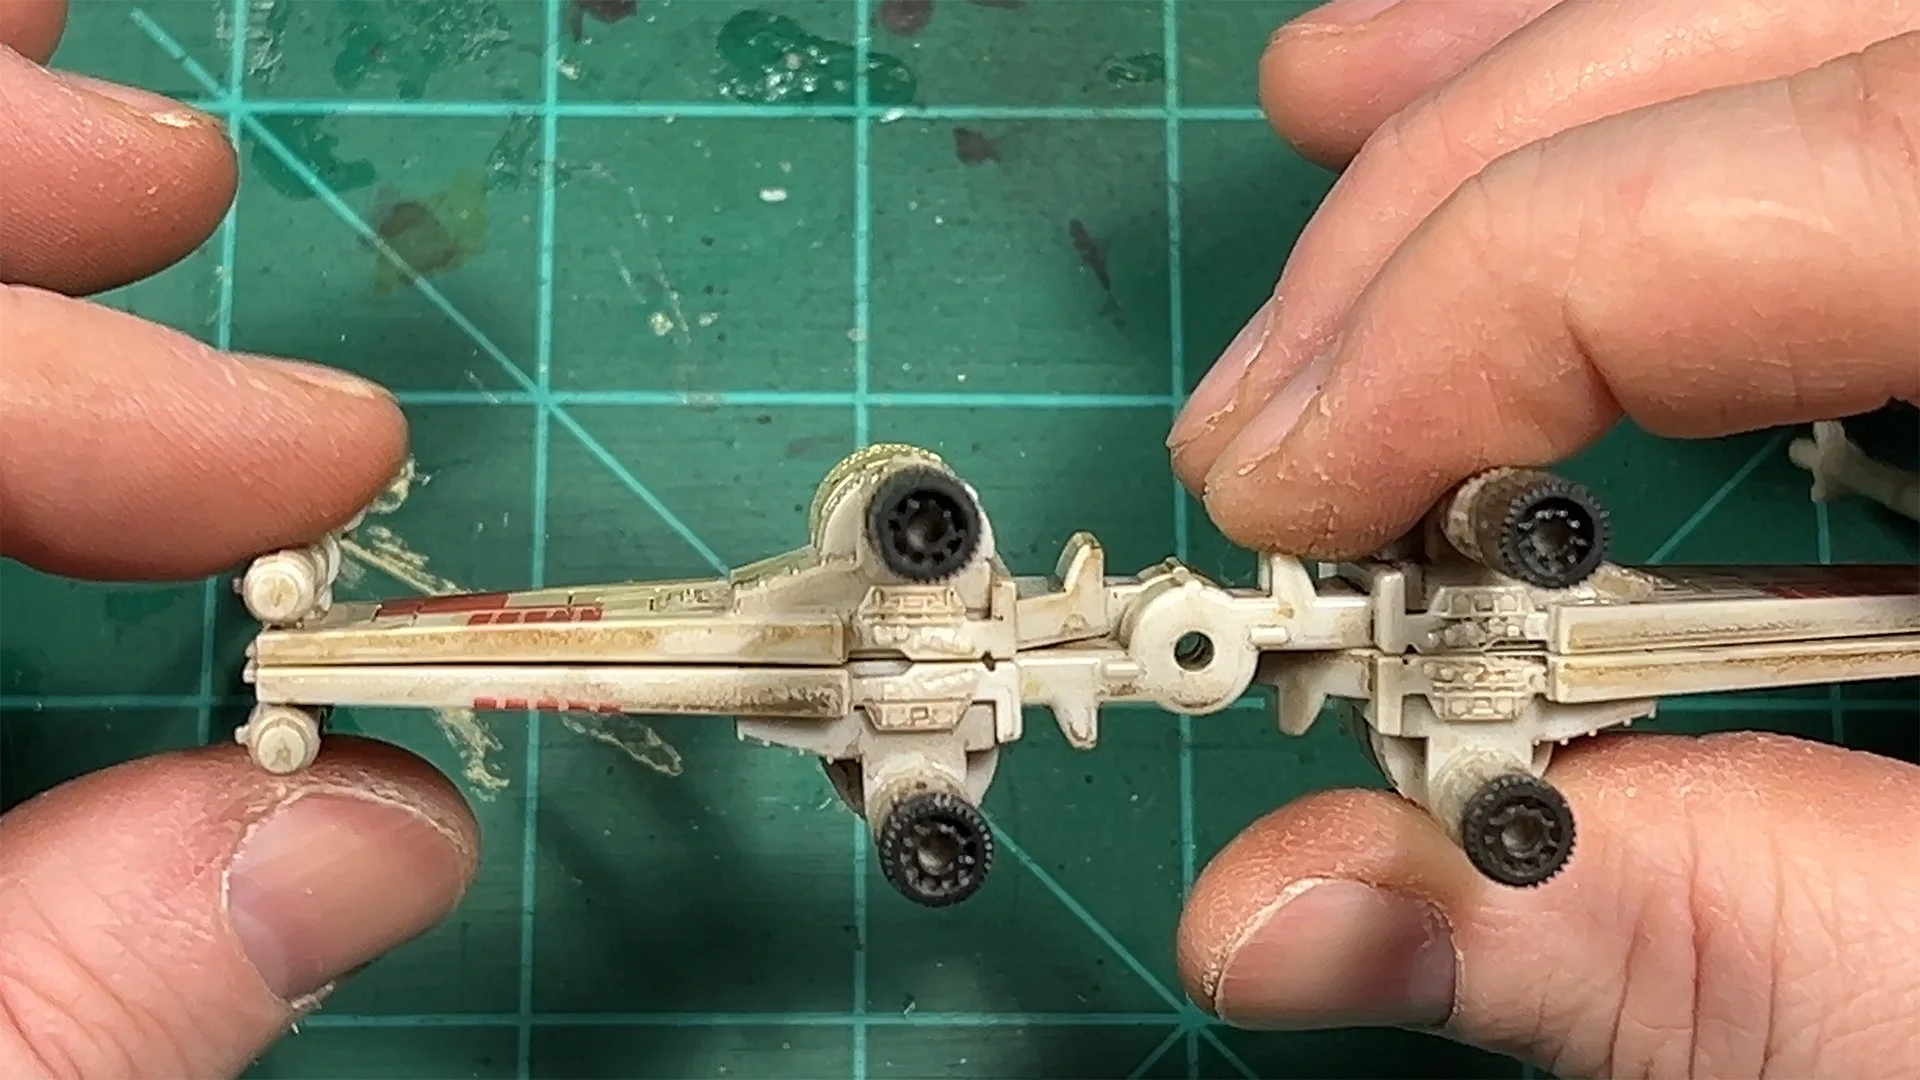
With the wings removed, inspect them to identify the bent wing causing the gap:
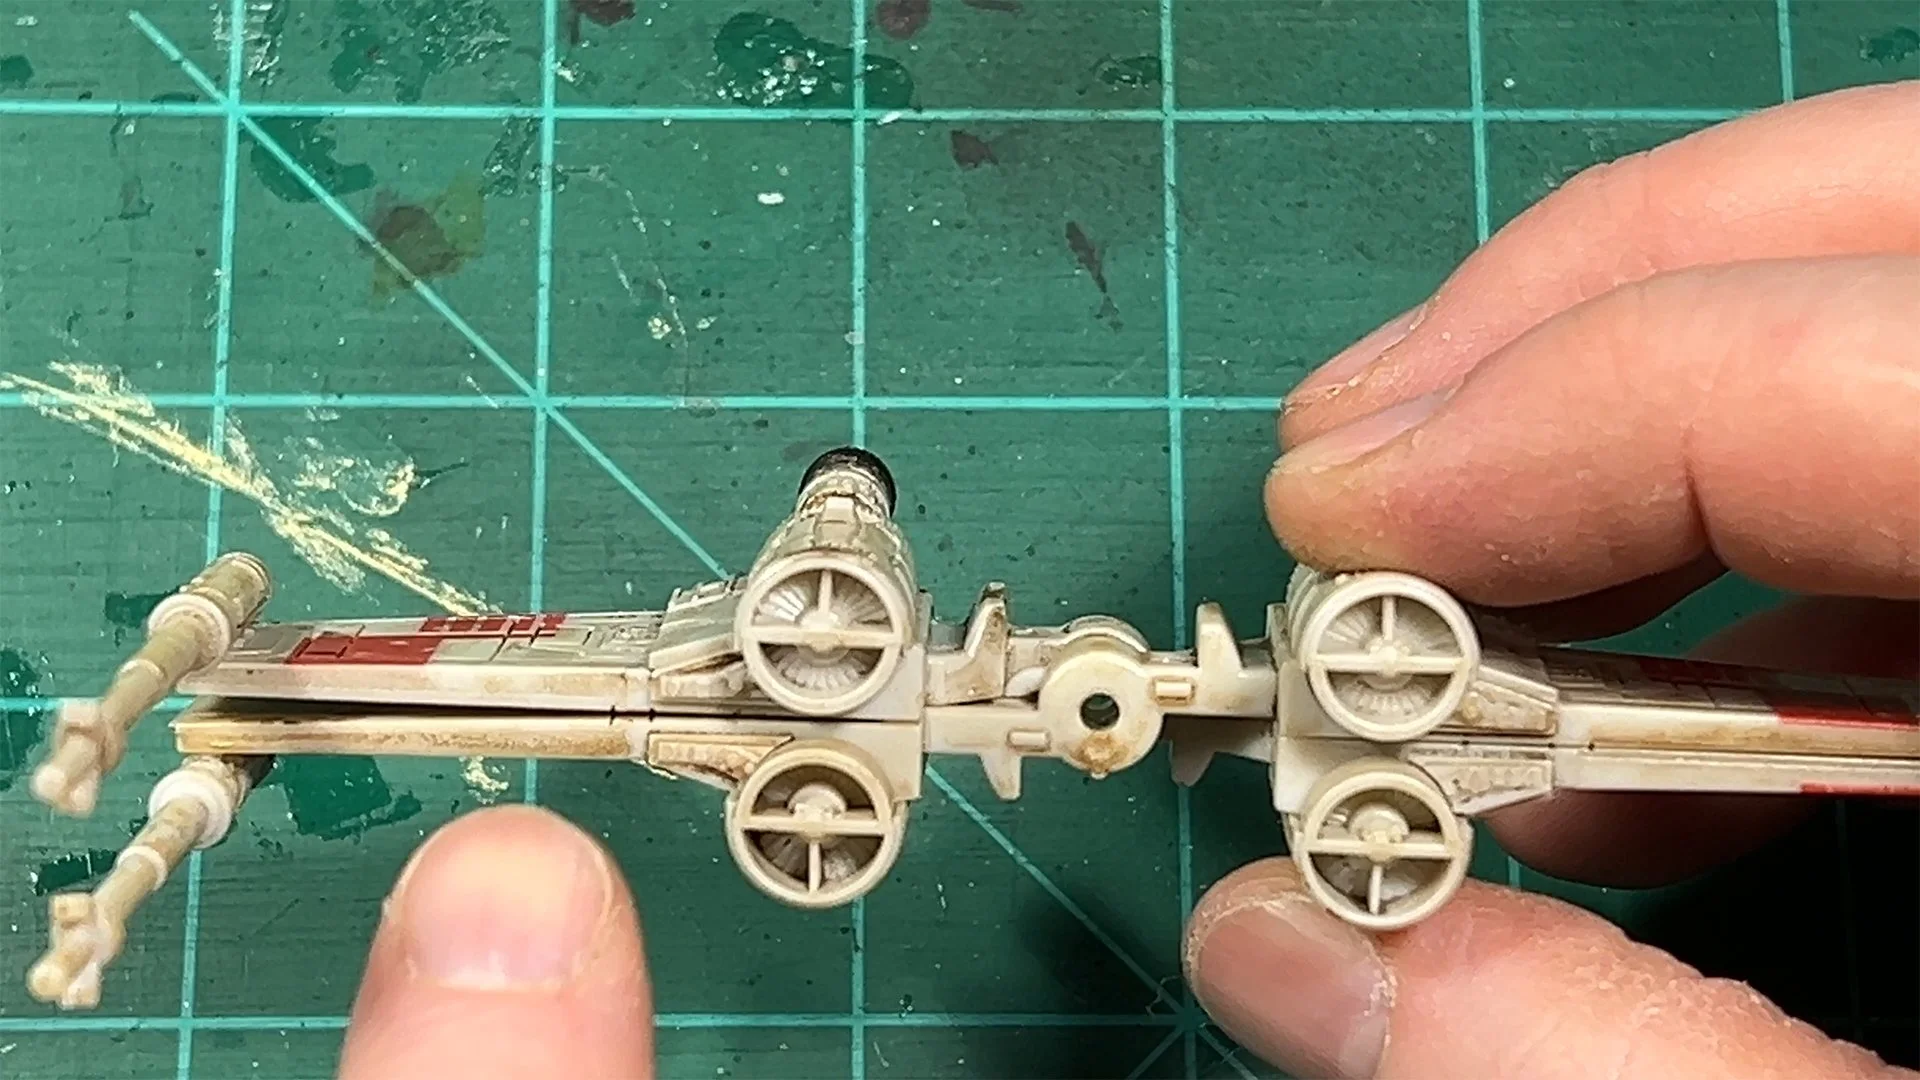
Locate the Bend: When viewed from the side, the bent wing will show a slight curve, particularly near the engine area, preventing the wings from closing flush.
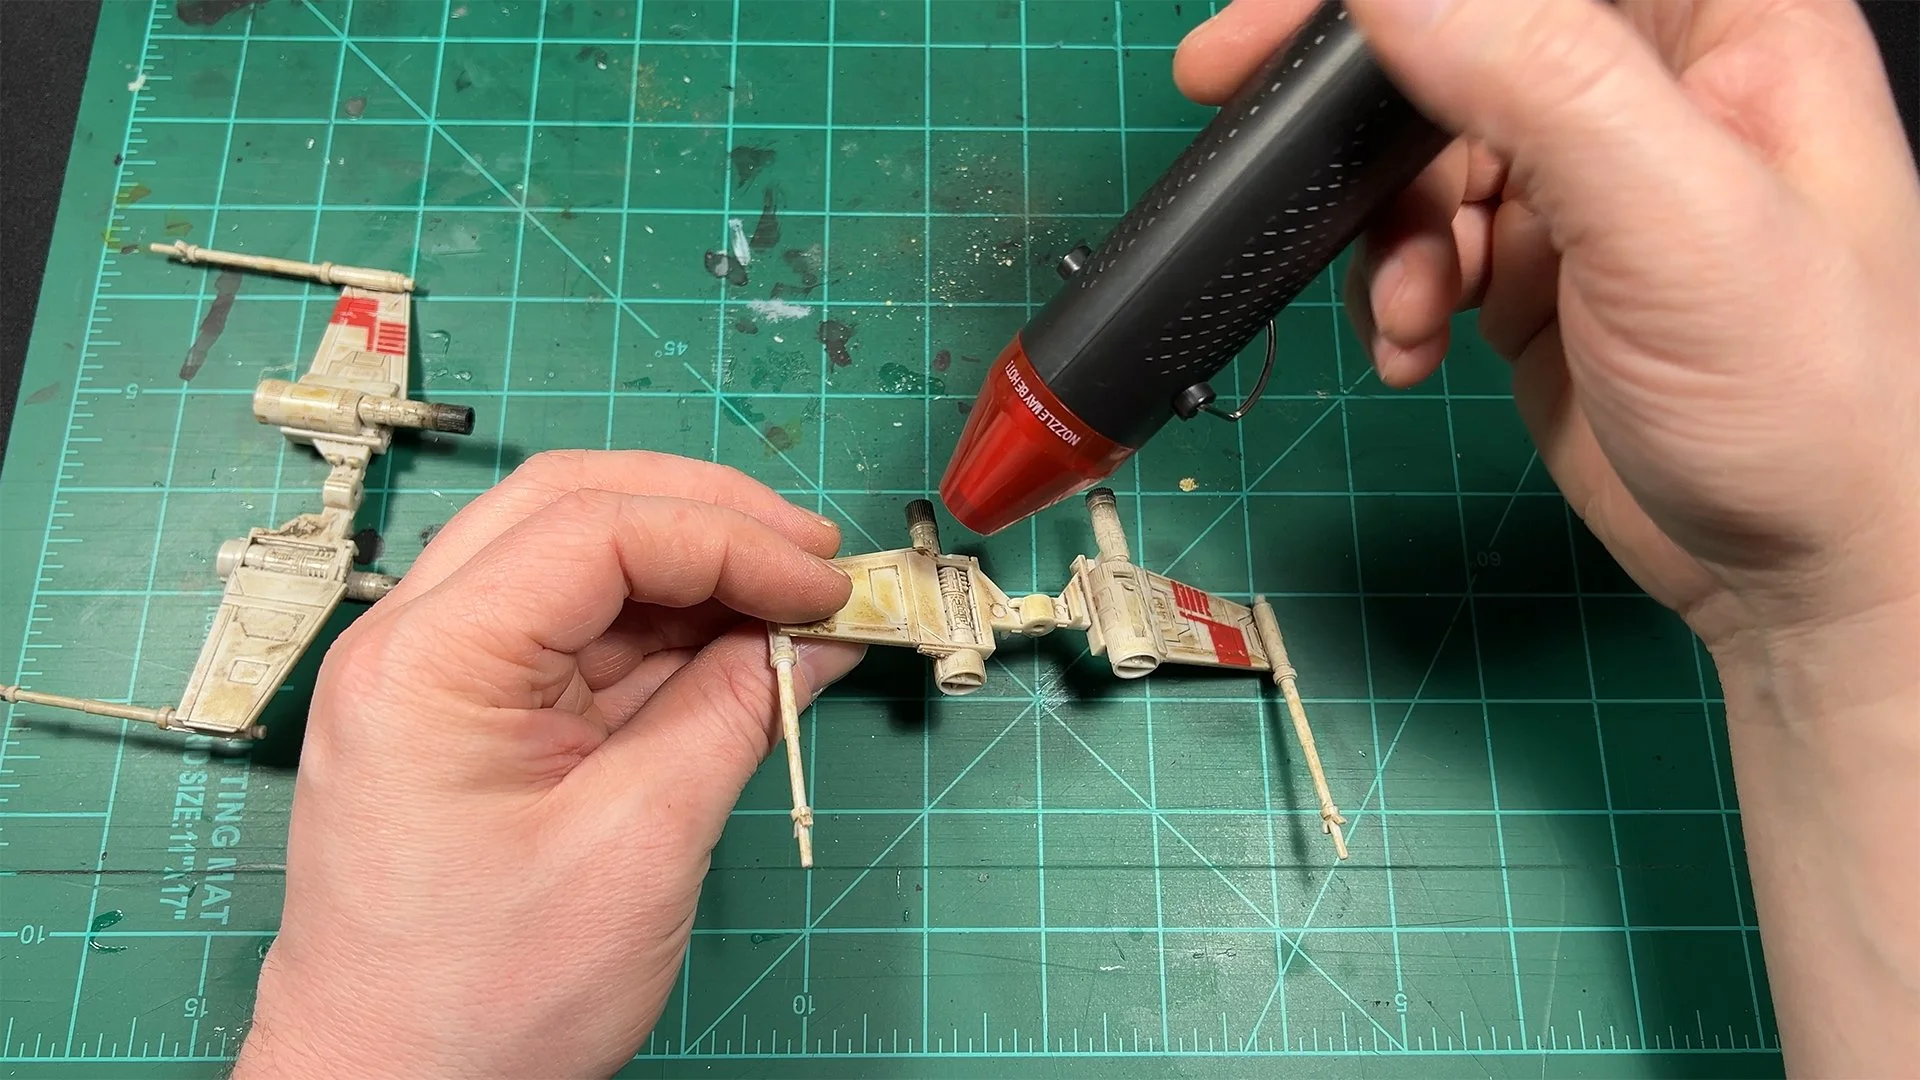
Apply Heat: Using a mini heat gun, apply heat evenly to both sides of the bent wing near the engine area. Warm the plastic until it becomes pliable, but avoid overheating to prevent damage.

Reshape the Wing: Gently bend the wing back into shape while the plastic is pliable. Slide the wings together to check if the gap has been reduced. If necessary, repeat the heating and reshaping process to fine-tune the alignment.
3. Reassembling the X-Wing
Once the wing is straightened, reassemble the model:
Reattach the Wings: Slide the wings back into their original position.
Secure the Locking Plate: Reinsert the metal pin and reattach the small white plate to keep the wings secure during opening and closing.
Reinstall the Droid Ejector Button: Place the droid ejector button back into its slot.
Replace the Bottom Panel: Slide the bottom panel back into place, ensuring a snug fit. Secure it with the three screws, placing the shorter screw in the nose and the two longer screws in the middle and back.
4. Final Adjustments
After reassembly, test the wings to ensure they close with minimal or no gap. If a slight curve persists, you may apply additional heat to further refine the shape. The goal is to achieve a significant improvement without risking damage to the plastic.
Safety Disclaimer
Working with heat guns and small tools carries inherent risks. Always exercise caution to avoid damaging the model or causing personal injury. Start with lower heat settings and increase gradually if needed. The creator is not responsible for any injuries or accidents that may occur during this process.
Final Thoughts
This simple fix dramatically improves the appearance of the Micro Galaxy Squadron X-Wing by eliminating the wing gap. With just a few tools and careful application of heat, the model’s wings now close more cleanly, enhancing its display quality. The process is straightforward and accessible, making it an excellent project for collectors and hobbyists.

If you found this guide helpful or have questions, feel free to share your thoughts in the comments of the YouTube video. Thank you for your support!