
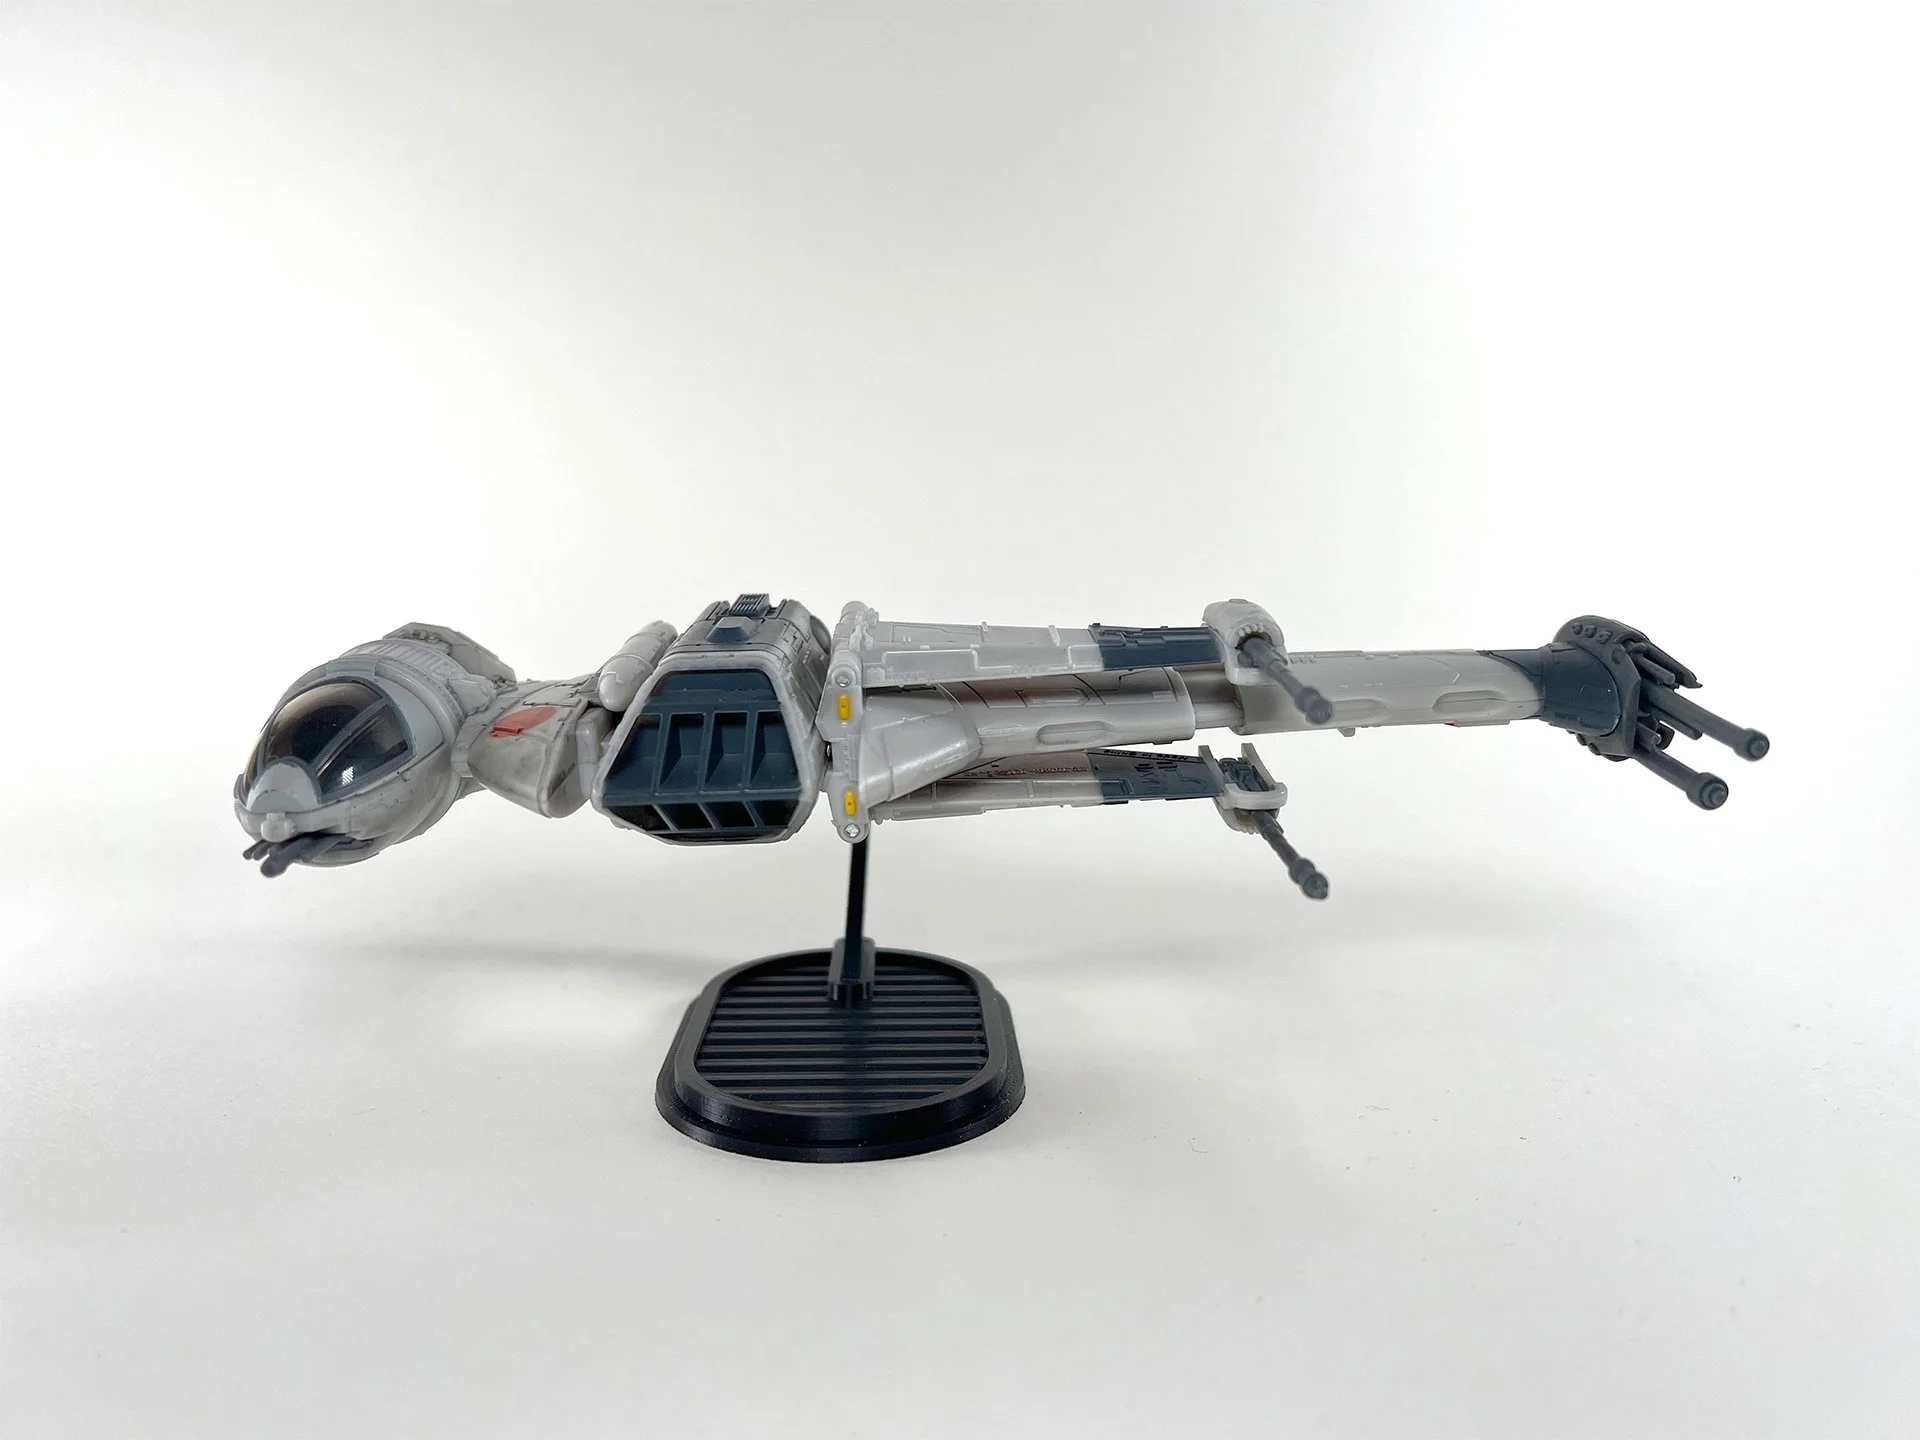
Micro Galaxy Squadron B-Wing Flight Stand
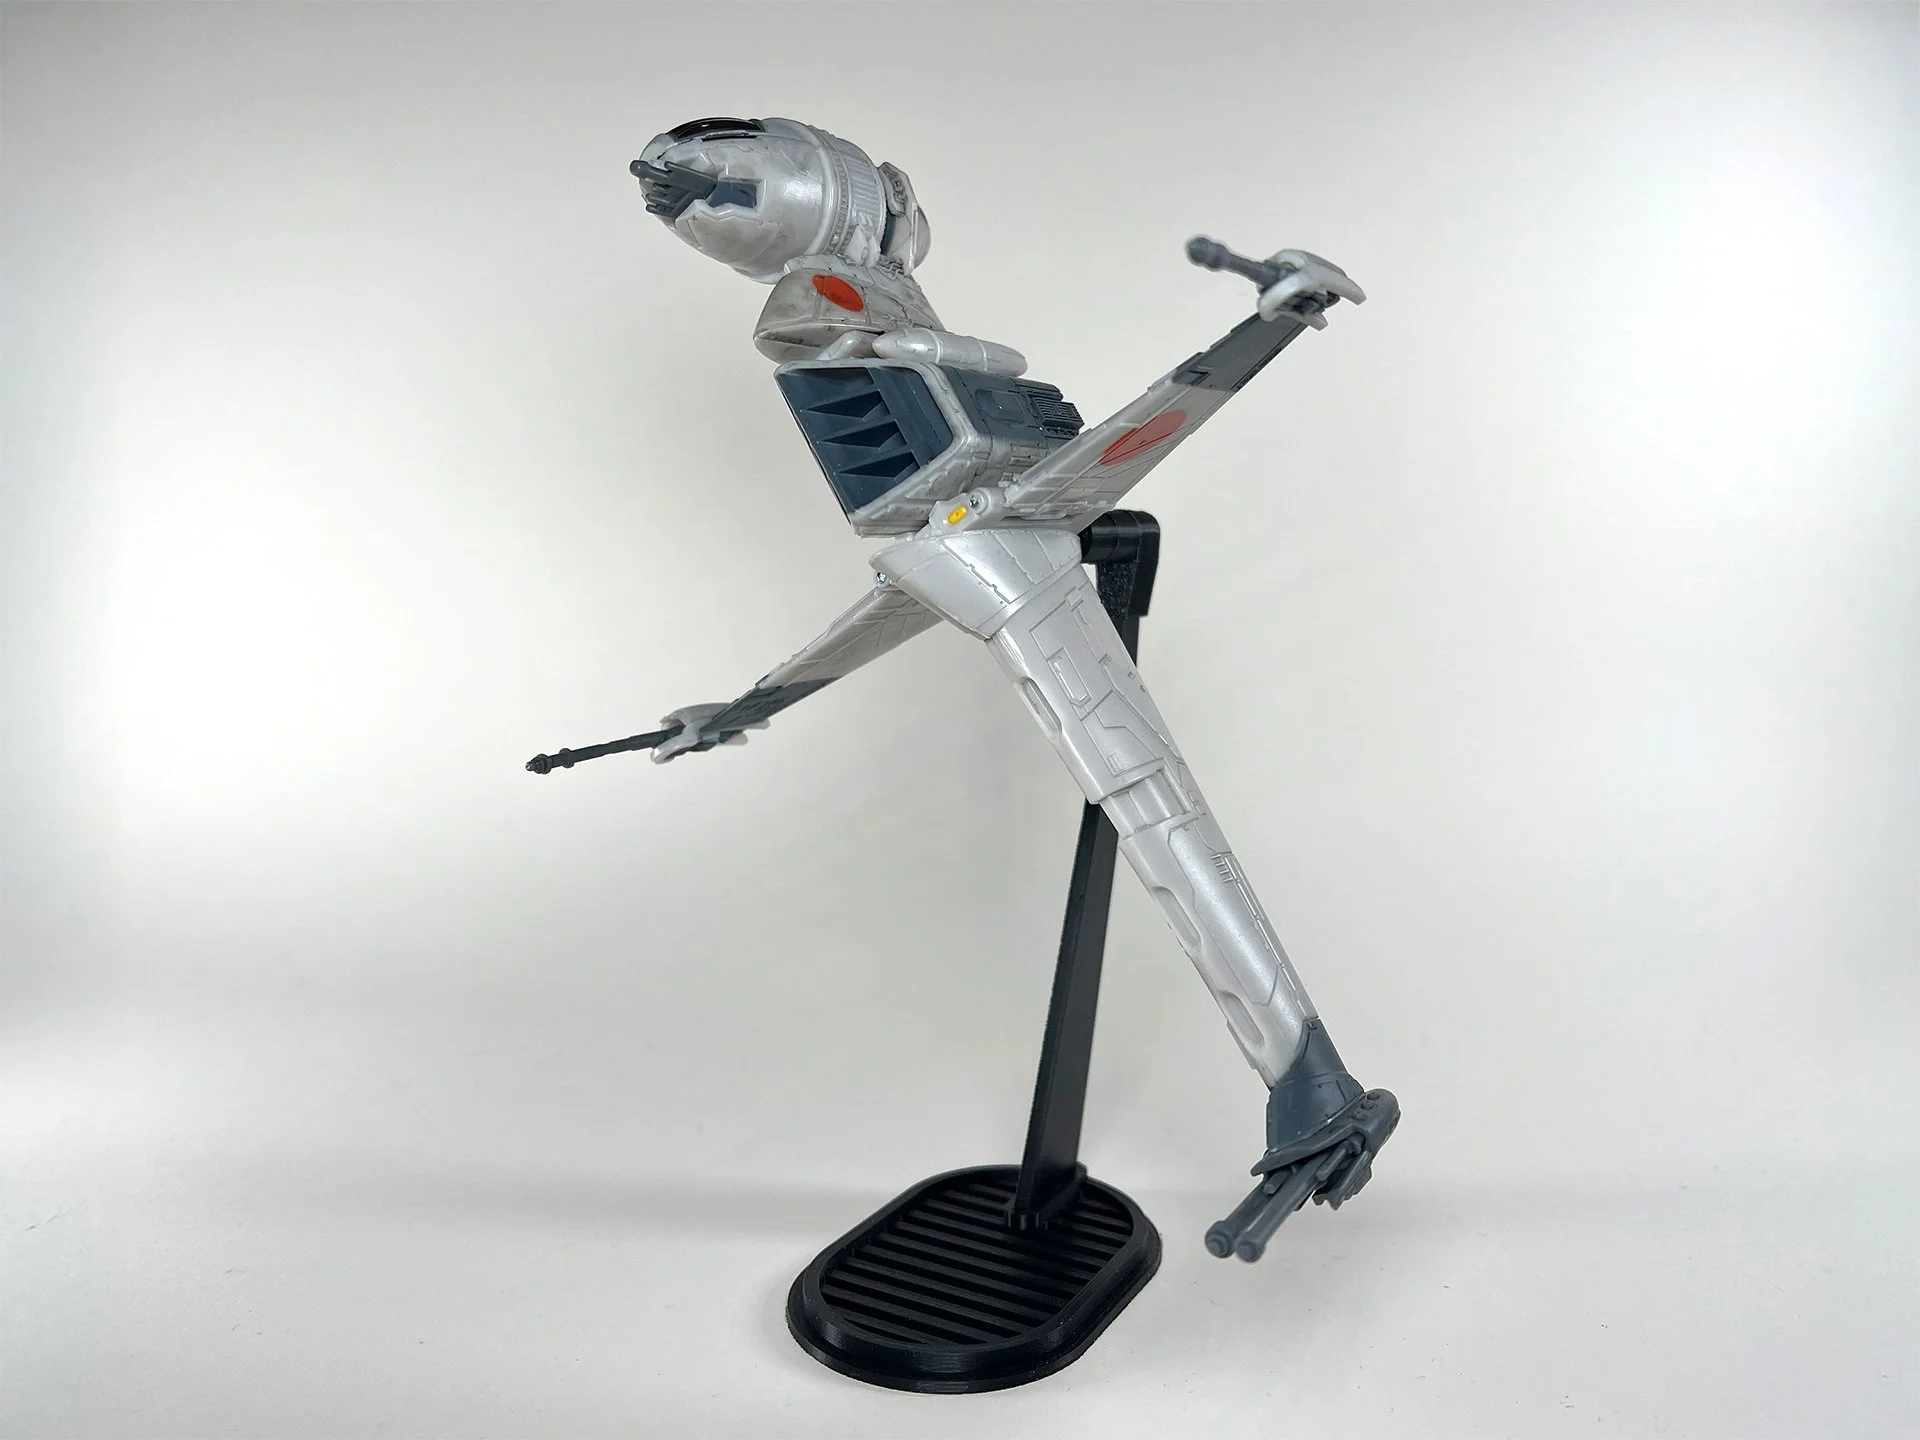
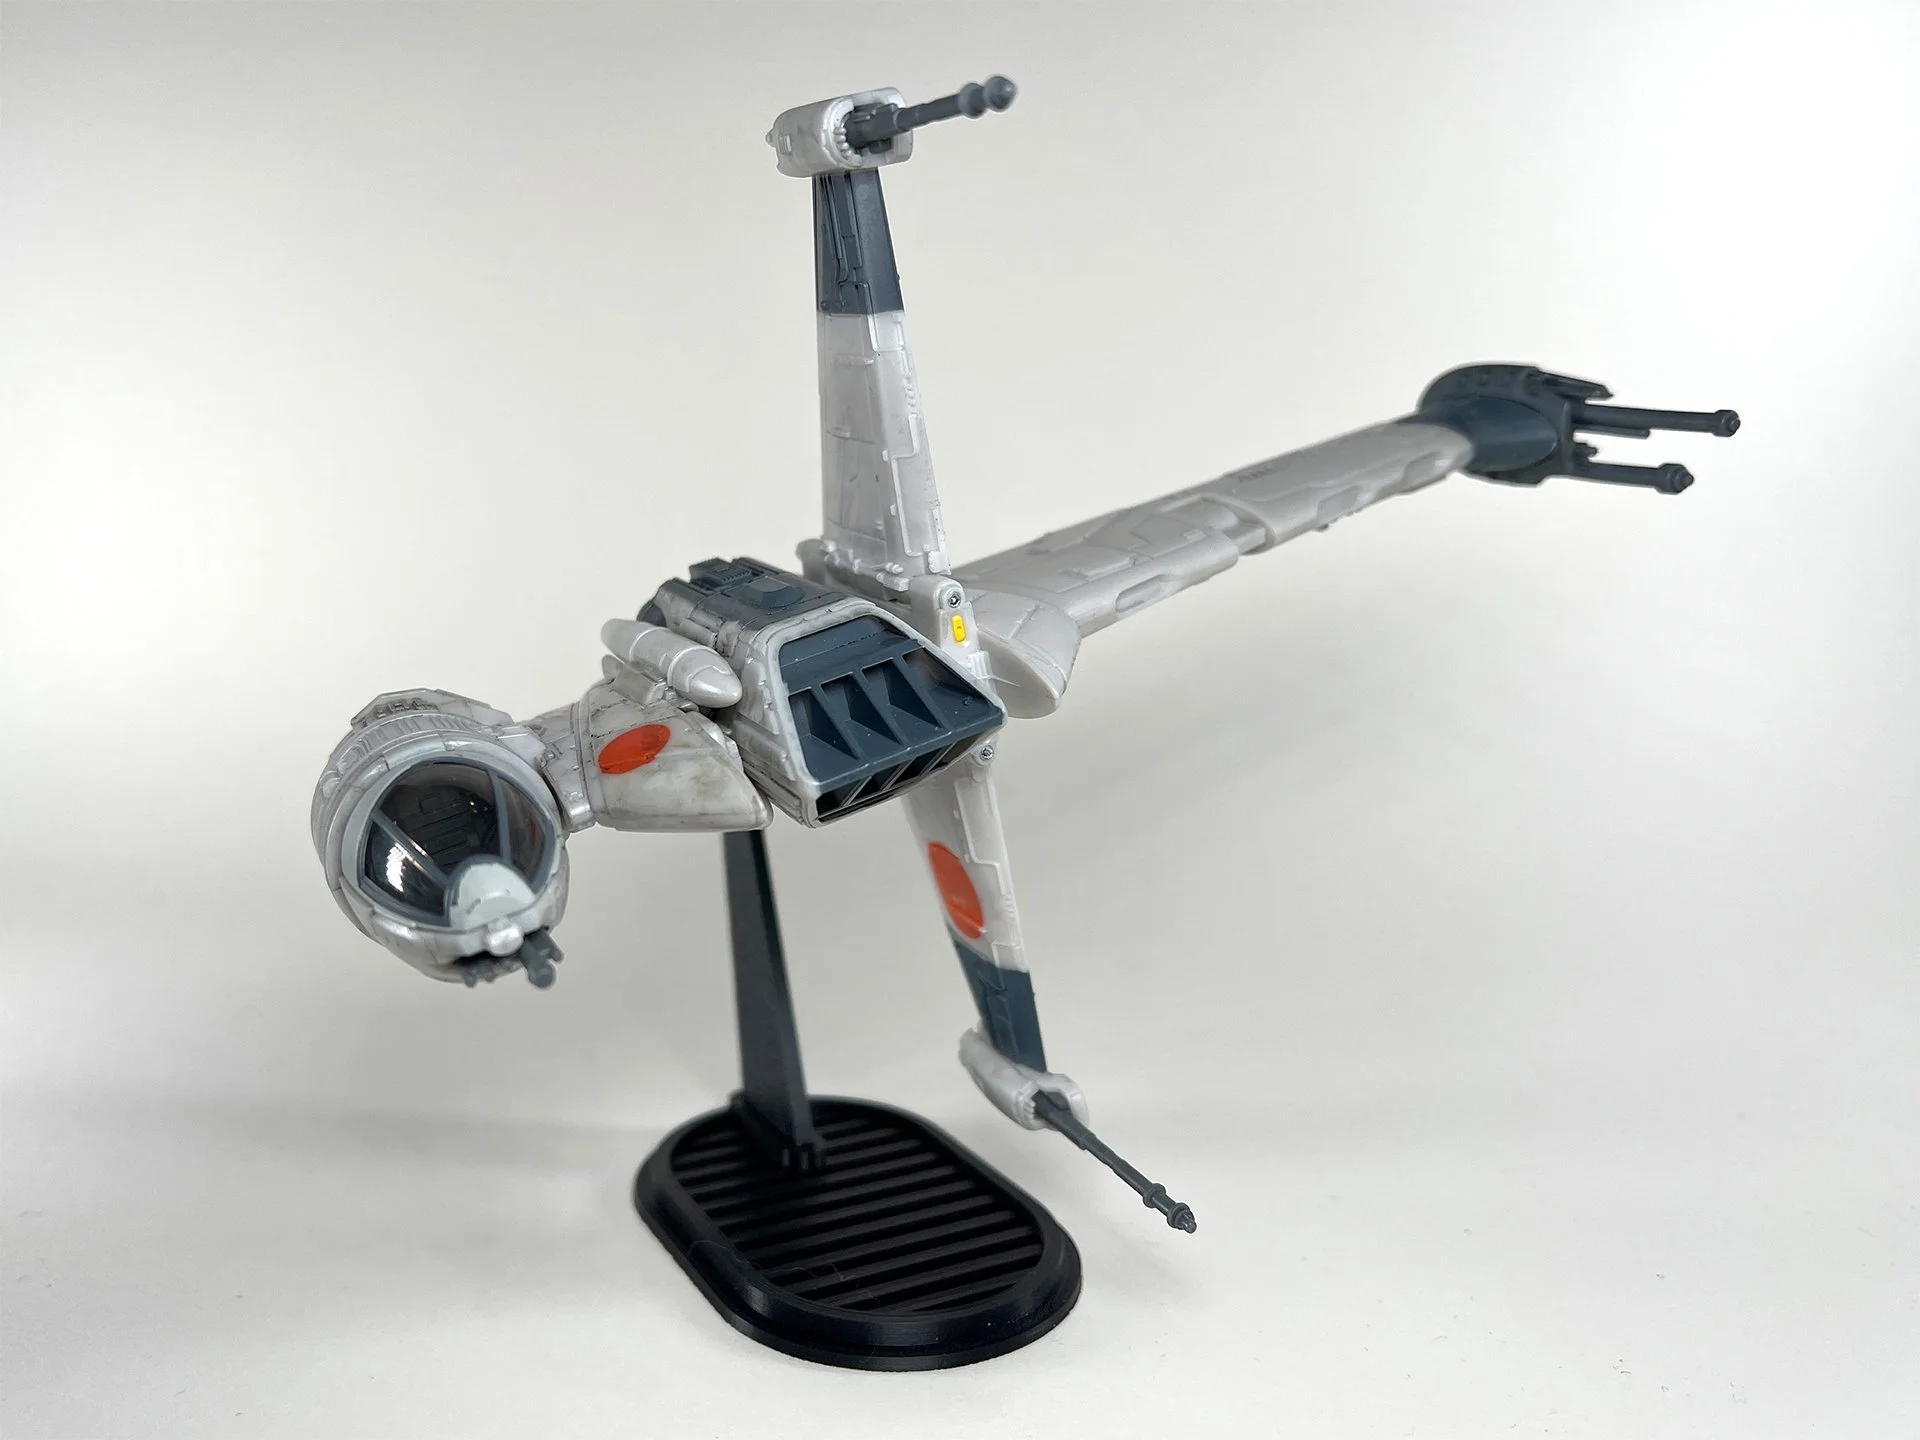
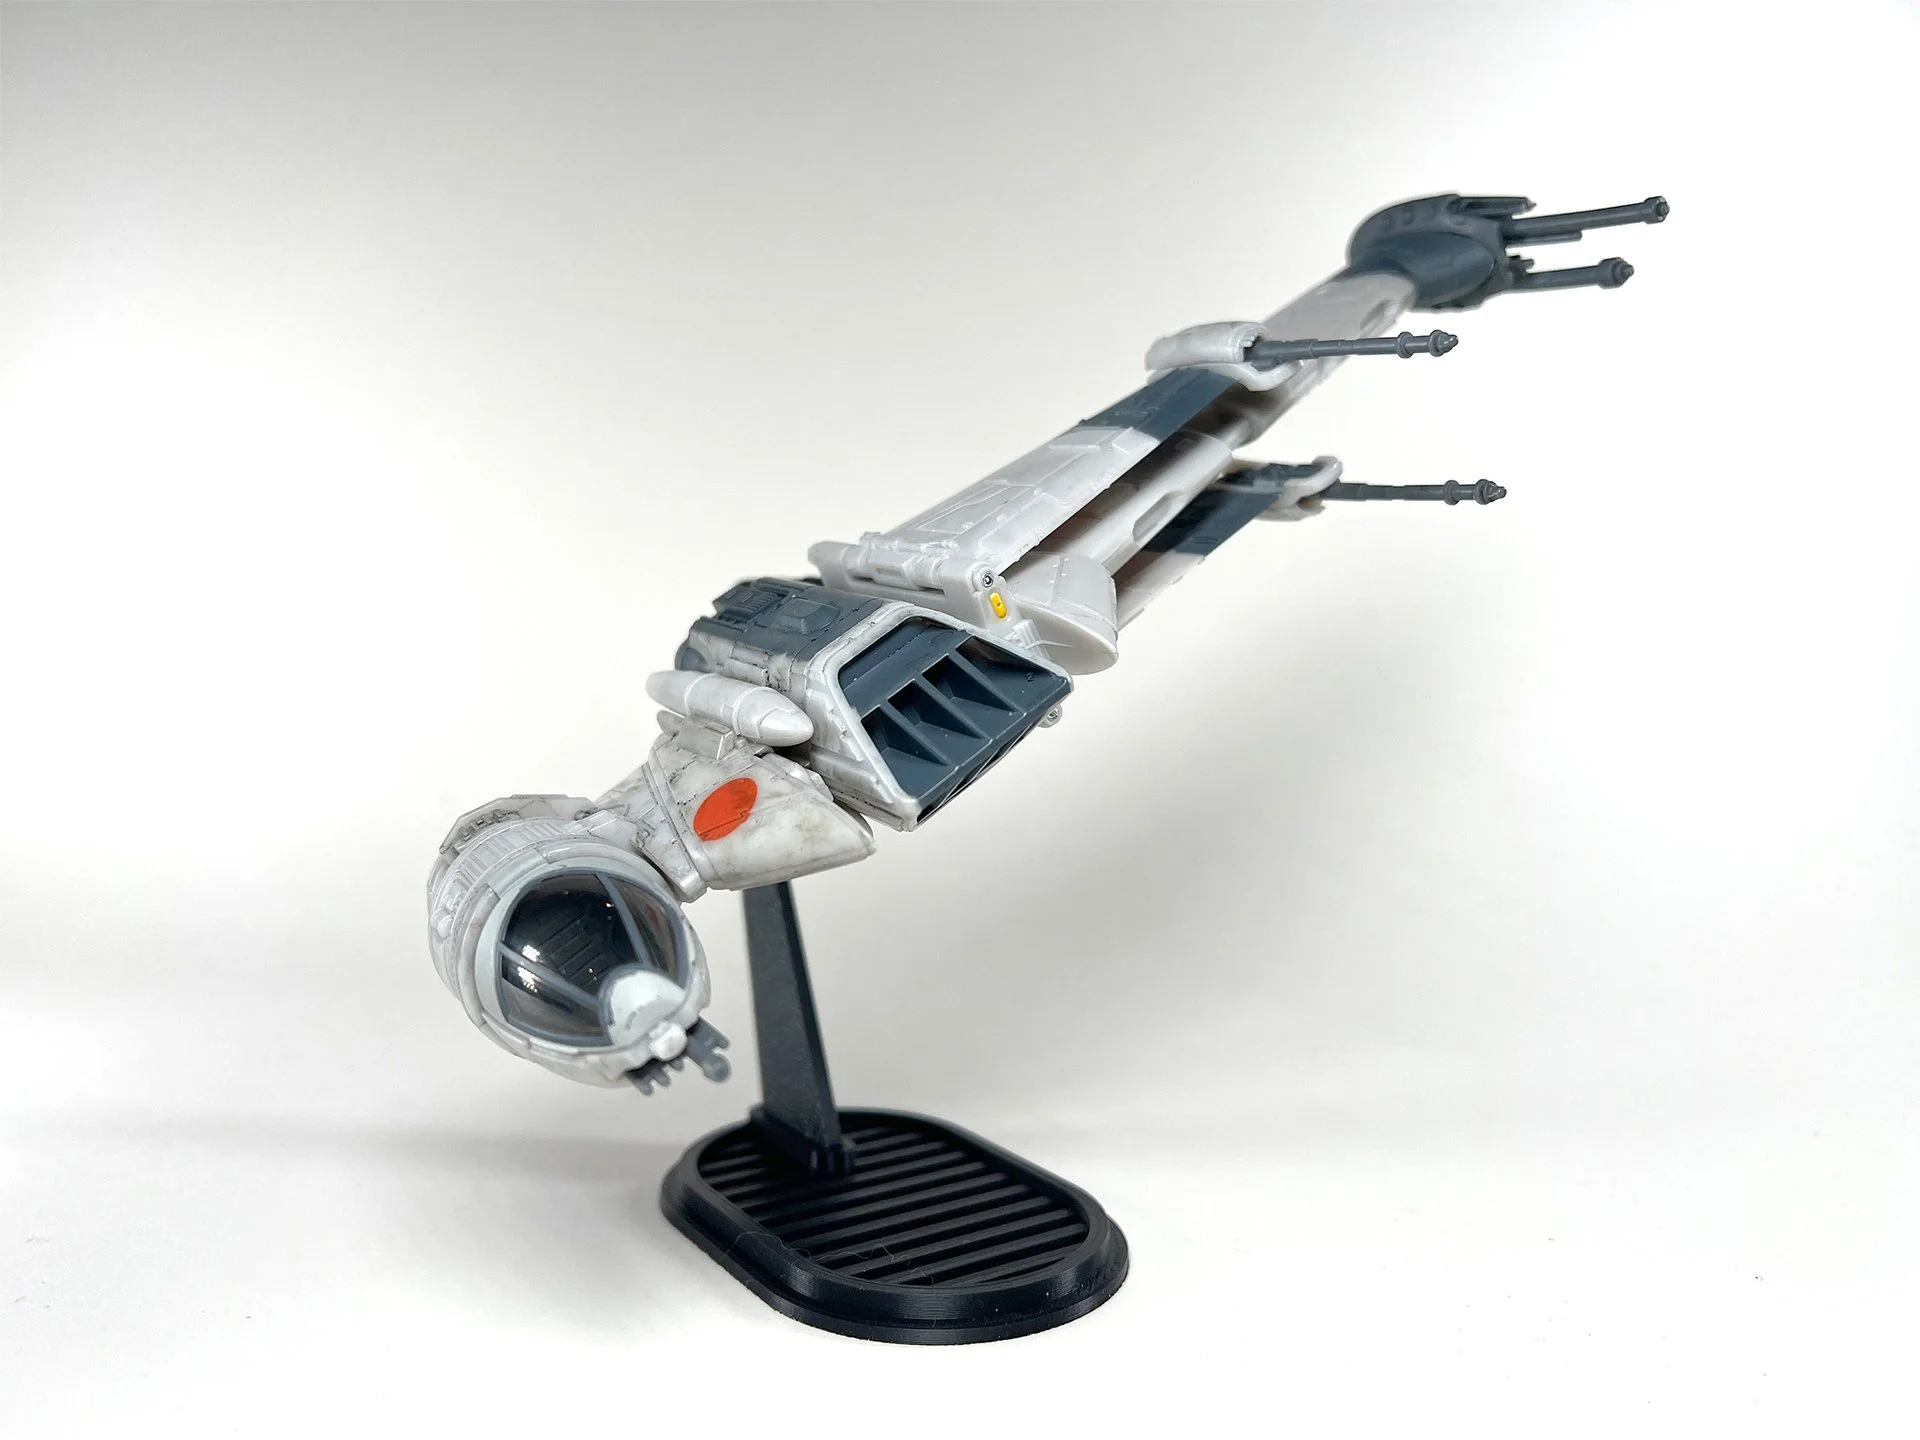
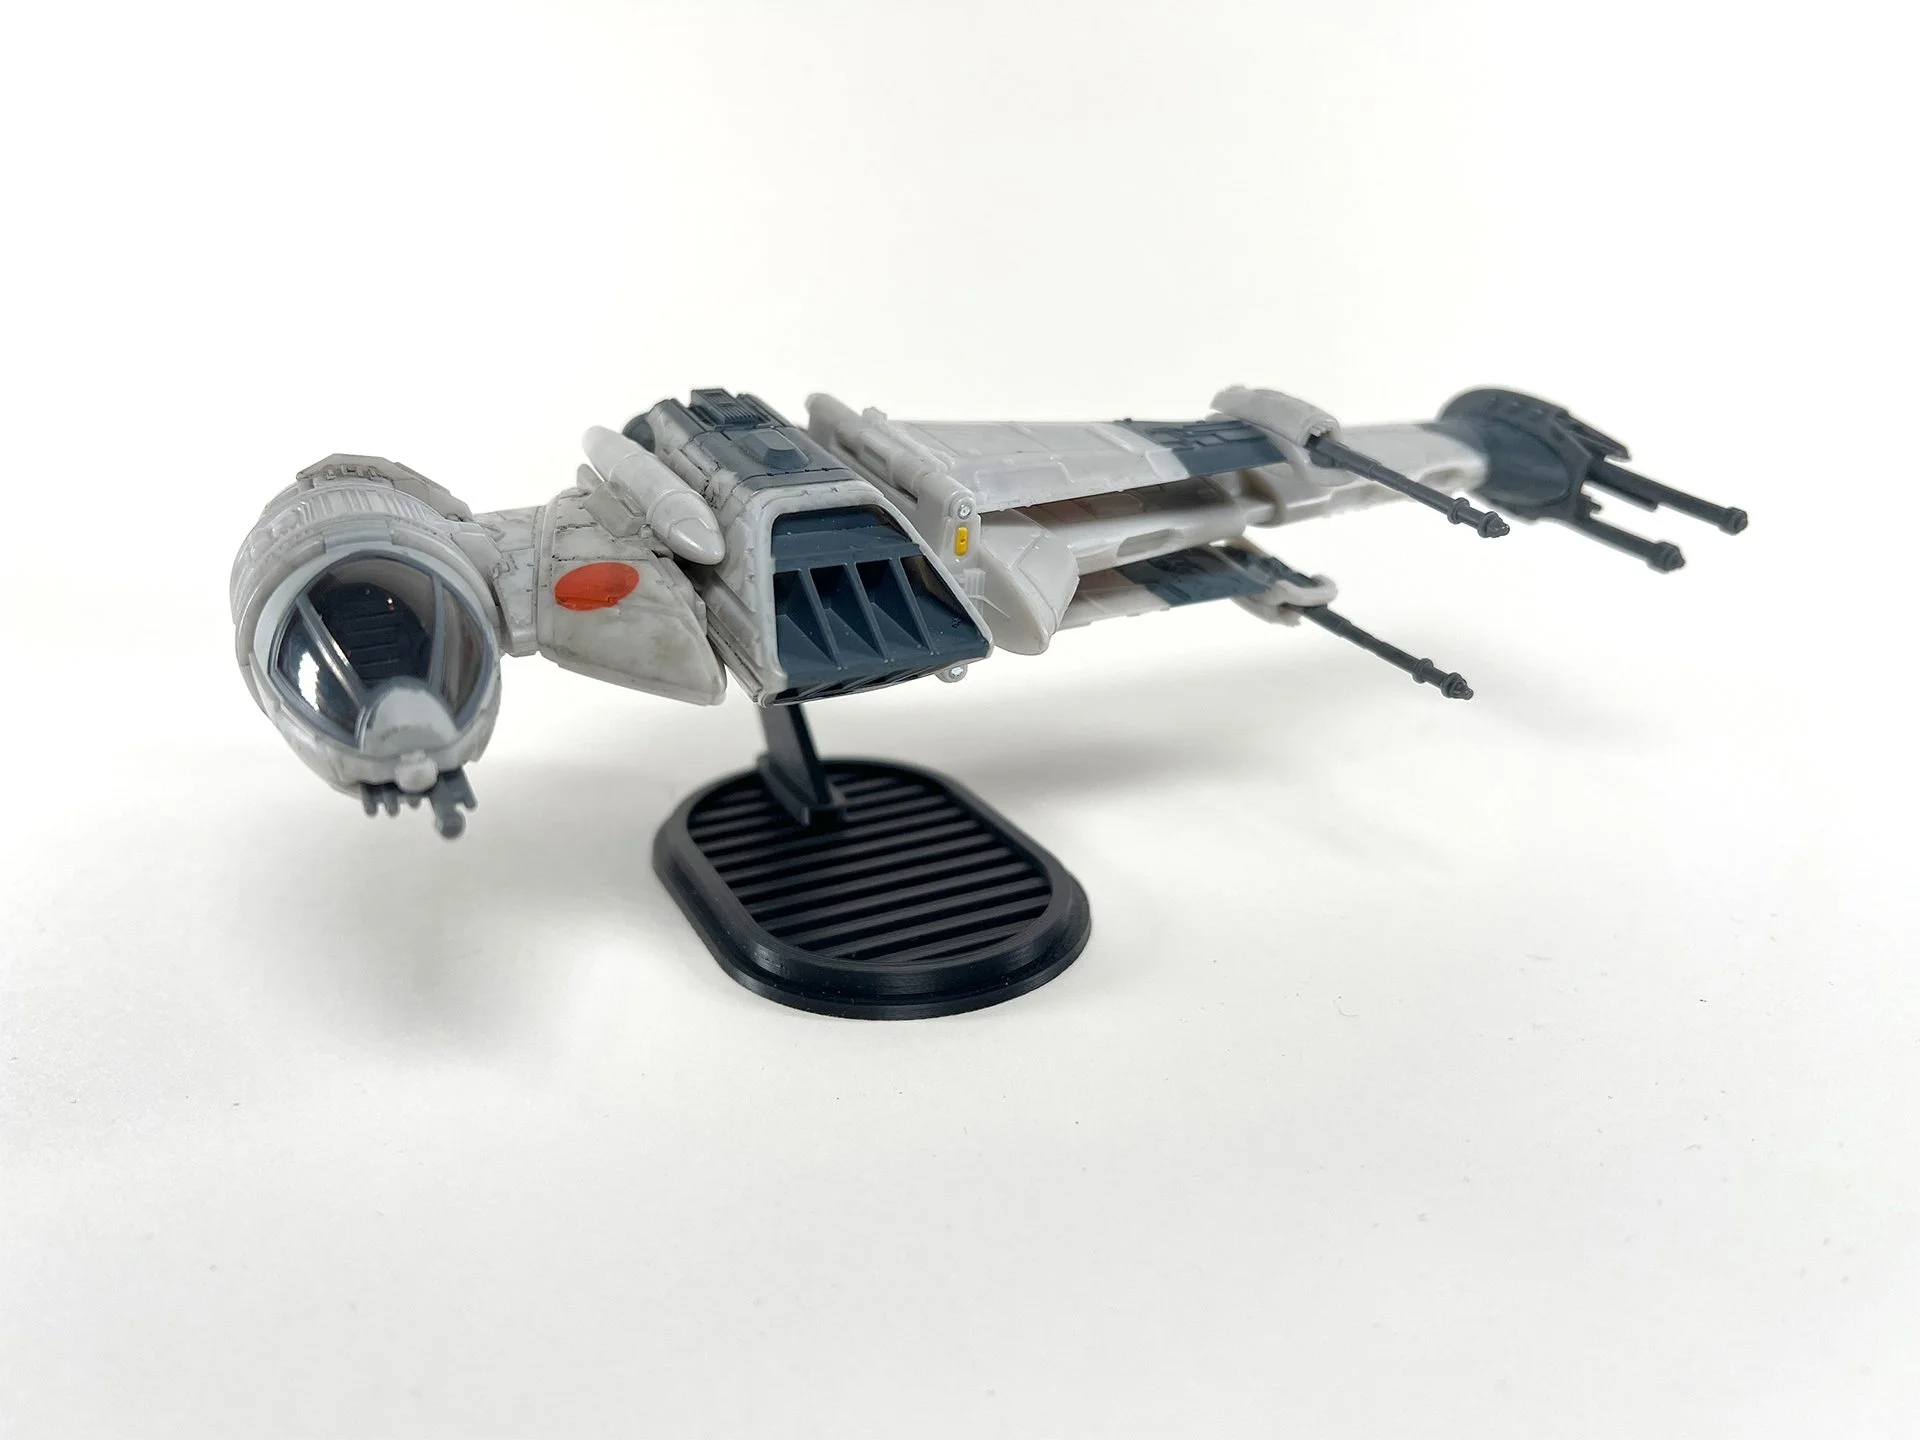
B-Wings change silhouette when the wings fold, so one “one-size” stand height usually looks wrong. This page’s stand is specific to the Micro Galaxy Squadron B-Wing and offers 75mm, 100mm, or 142mm heights aimed at different poses: taller for vertical/attack angles, mid for wings-out cruise, shorter for a low folded-wing pass. The pivot lets you fine-tune the bank once the height is chosen. PLA, made in Minnesota, stand only.
Instructions
(75 mm & 100 mm Versions)
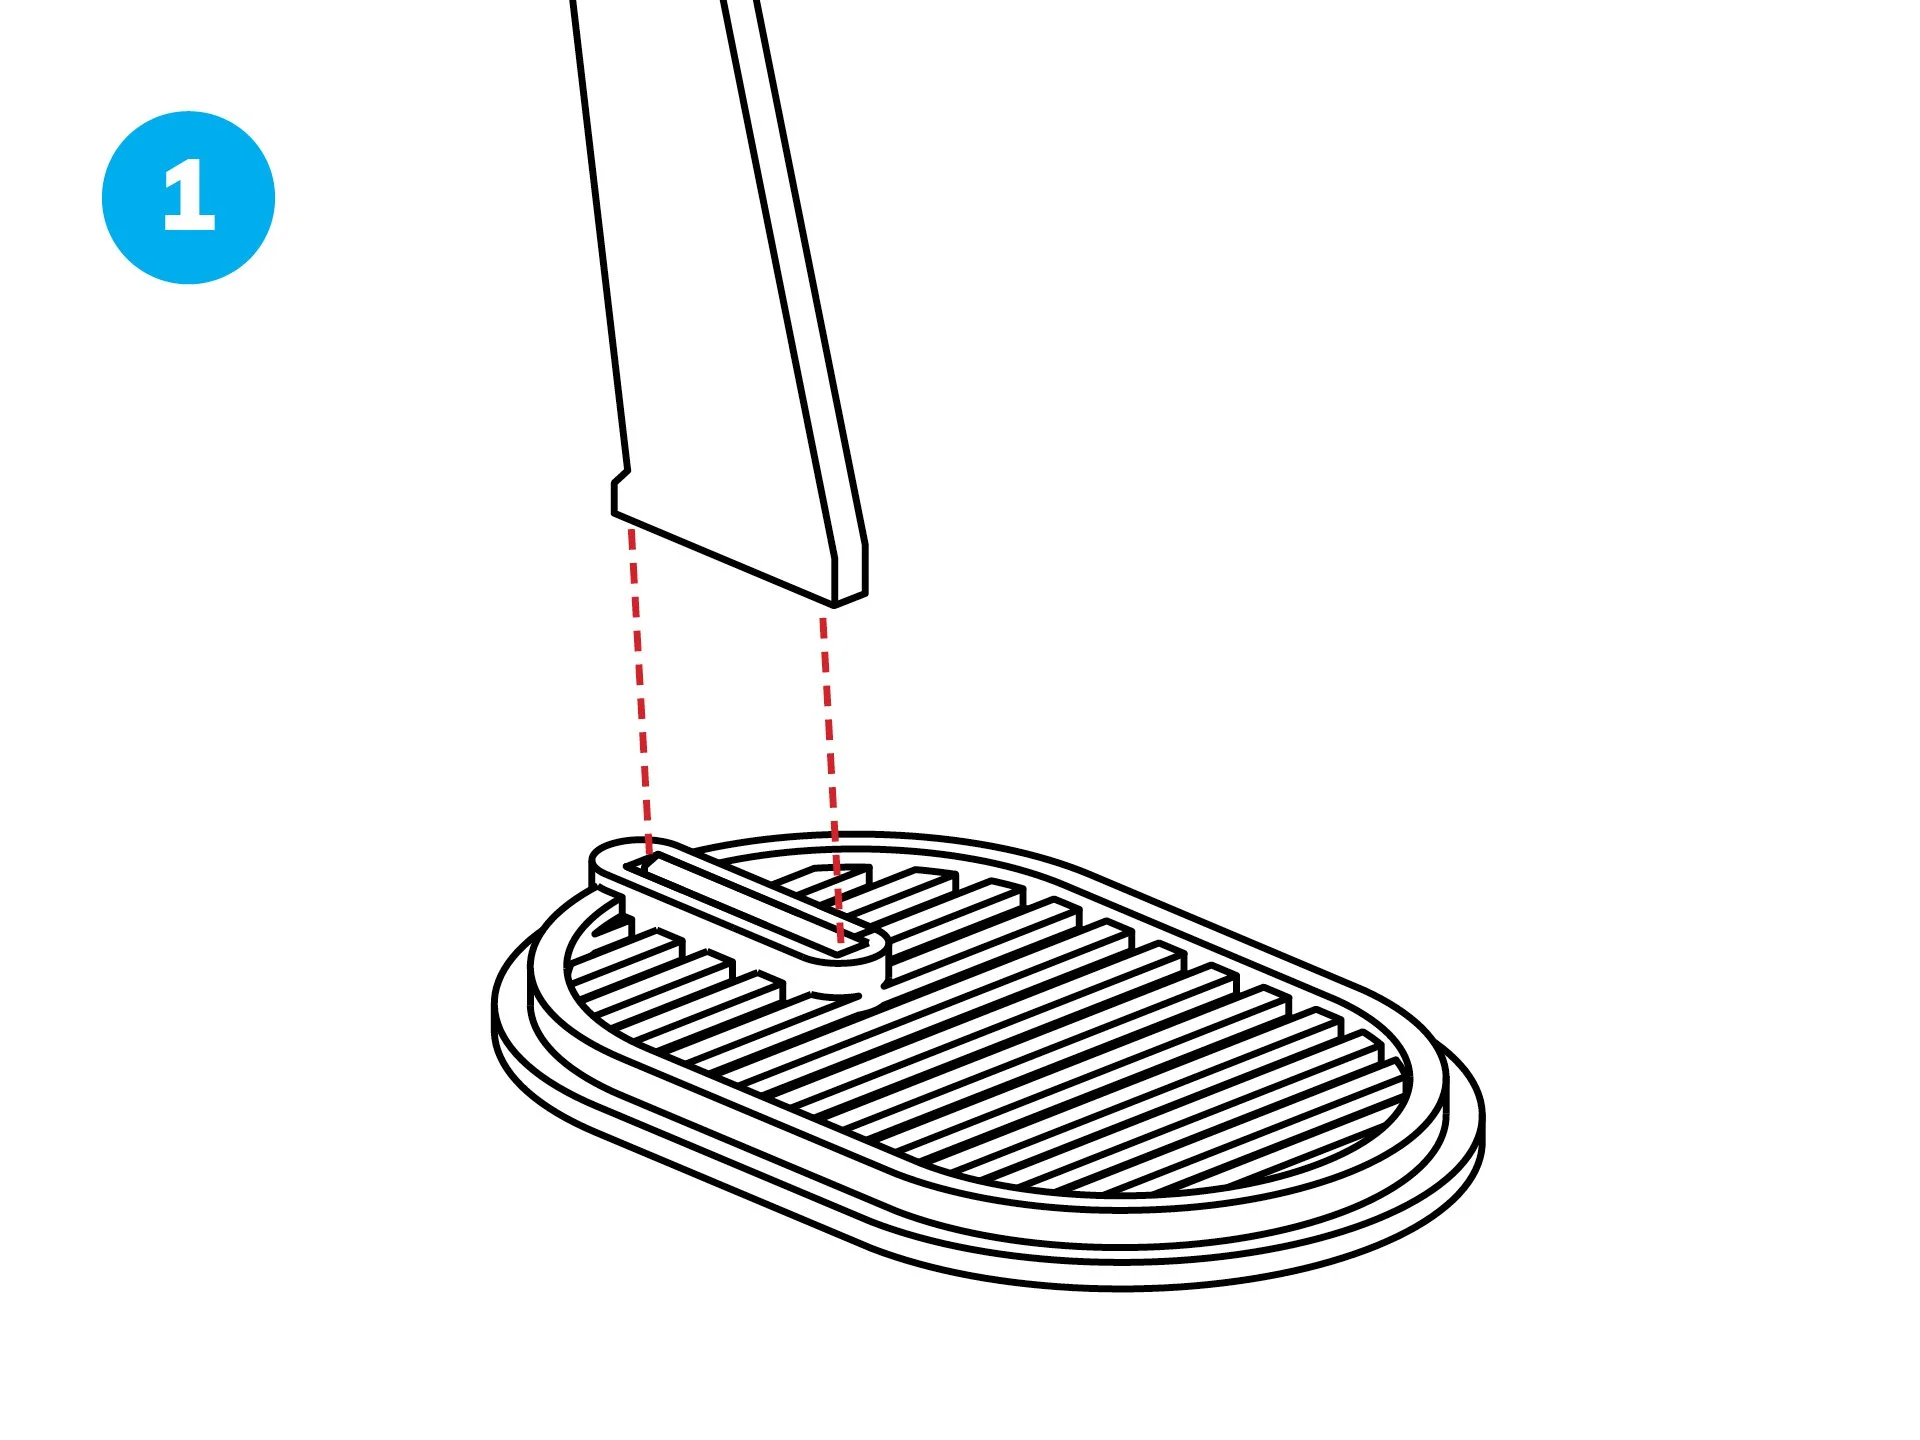
Align the bottom of the Upright with the slot located on the top of the Base.
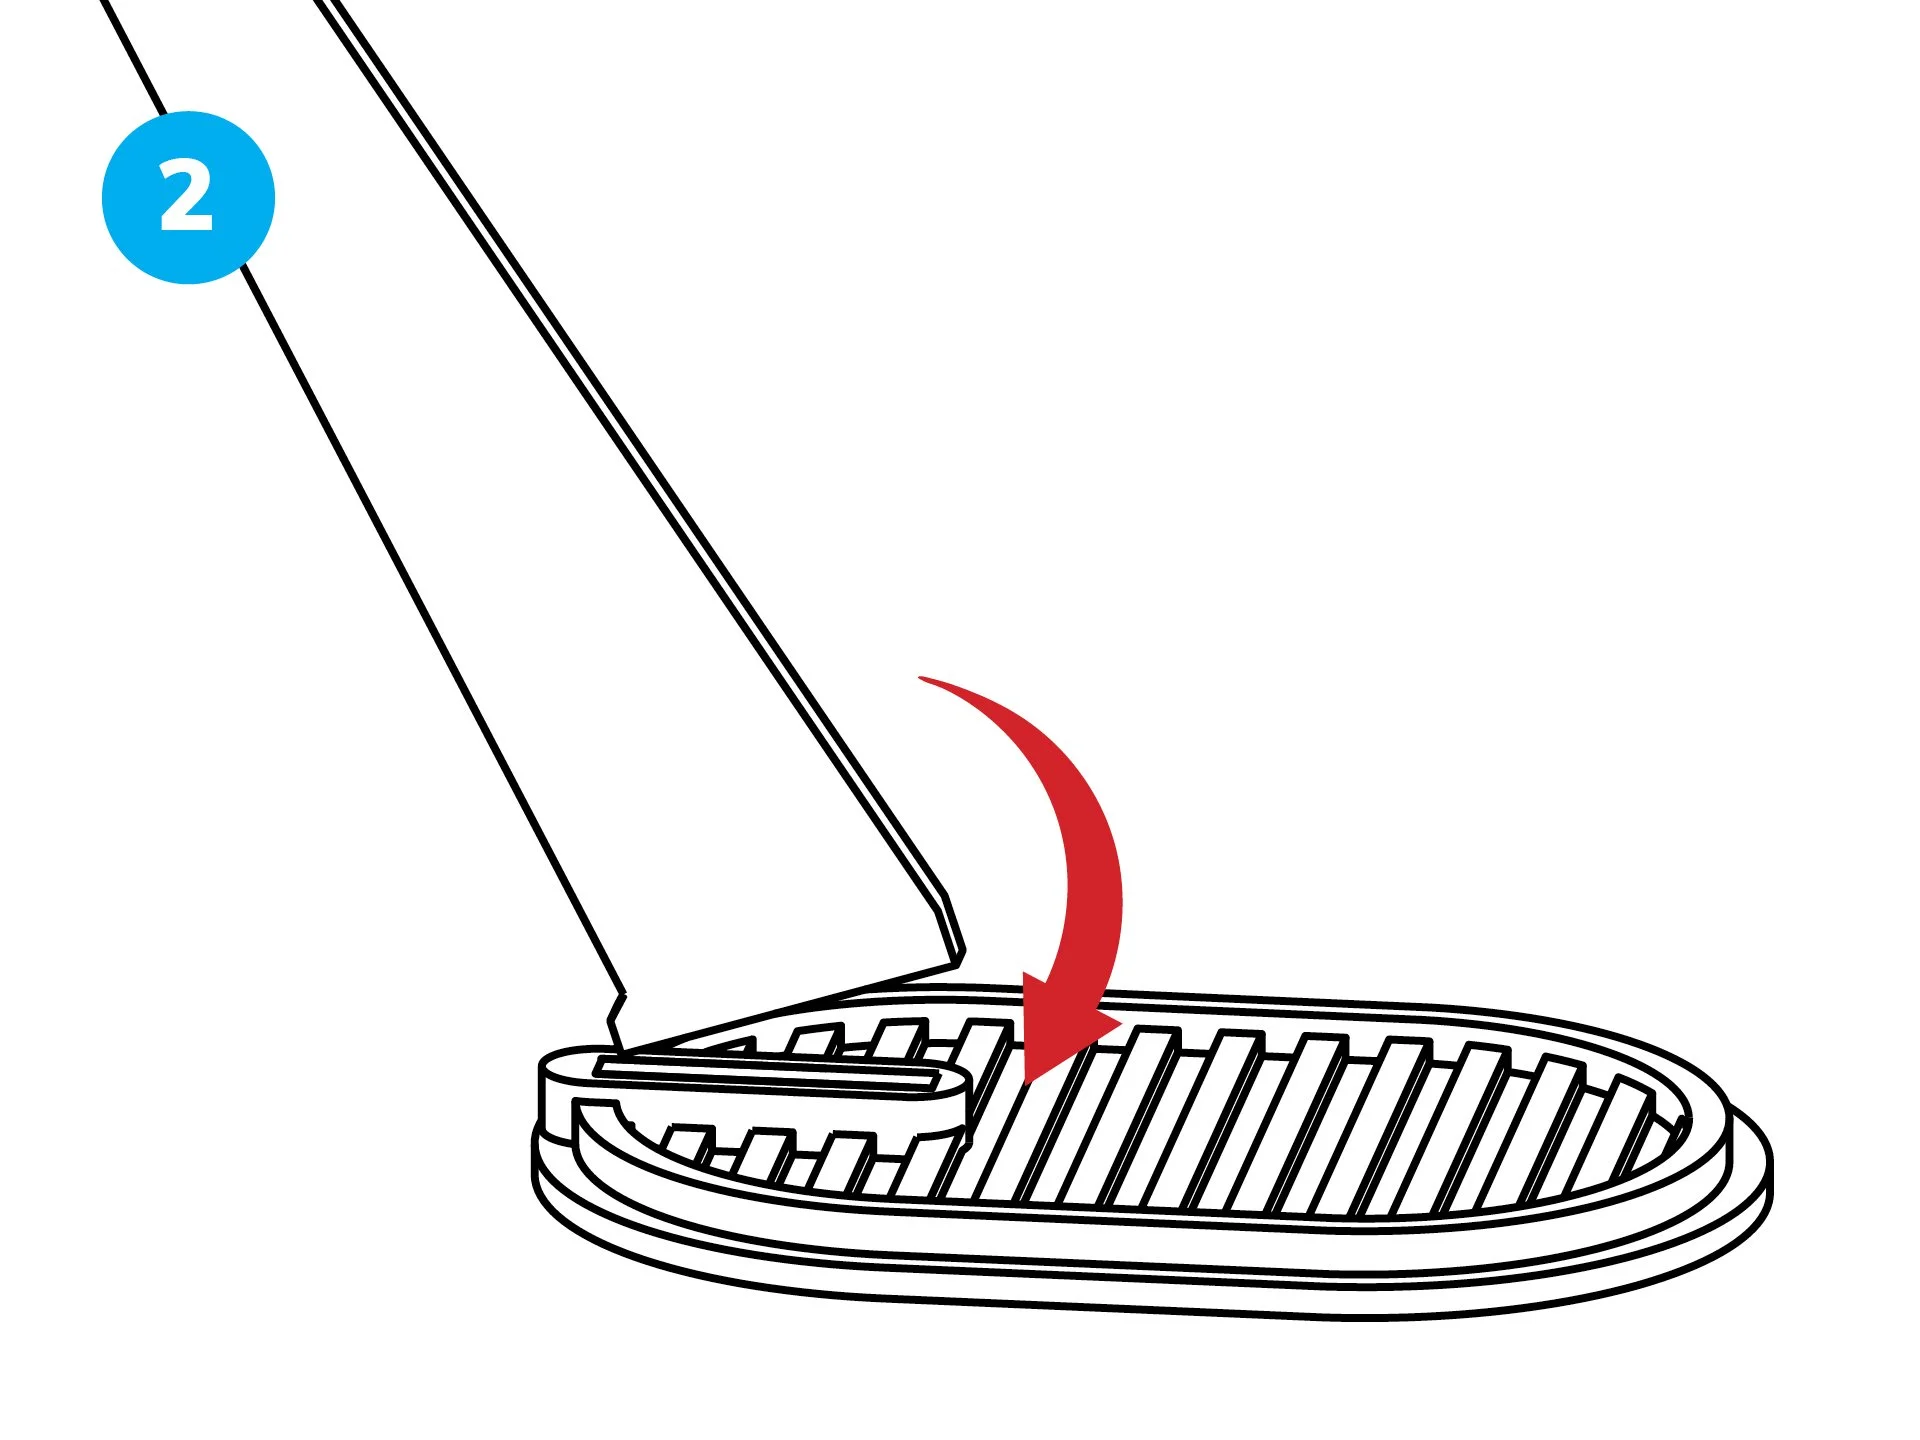

Begin by inserting the hooked rear of the Upright.
Press front down firmly until it locks in place. (Optional: Apply a small drop of superglue for extra stability, then let it dry.)
Secure the Swivel Mount assembly by sliding it between the thrusters at the rear of the ship.
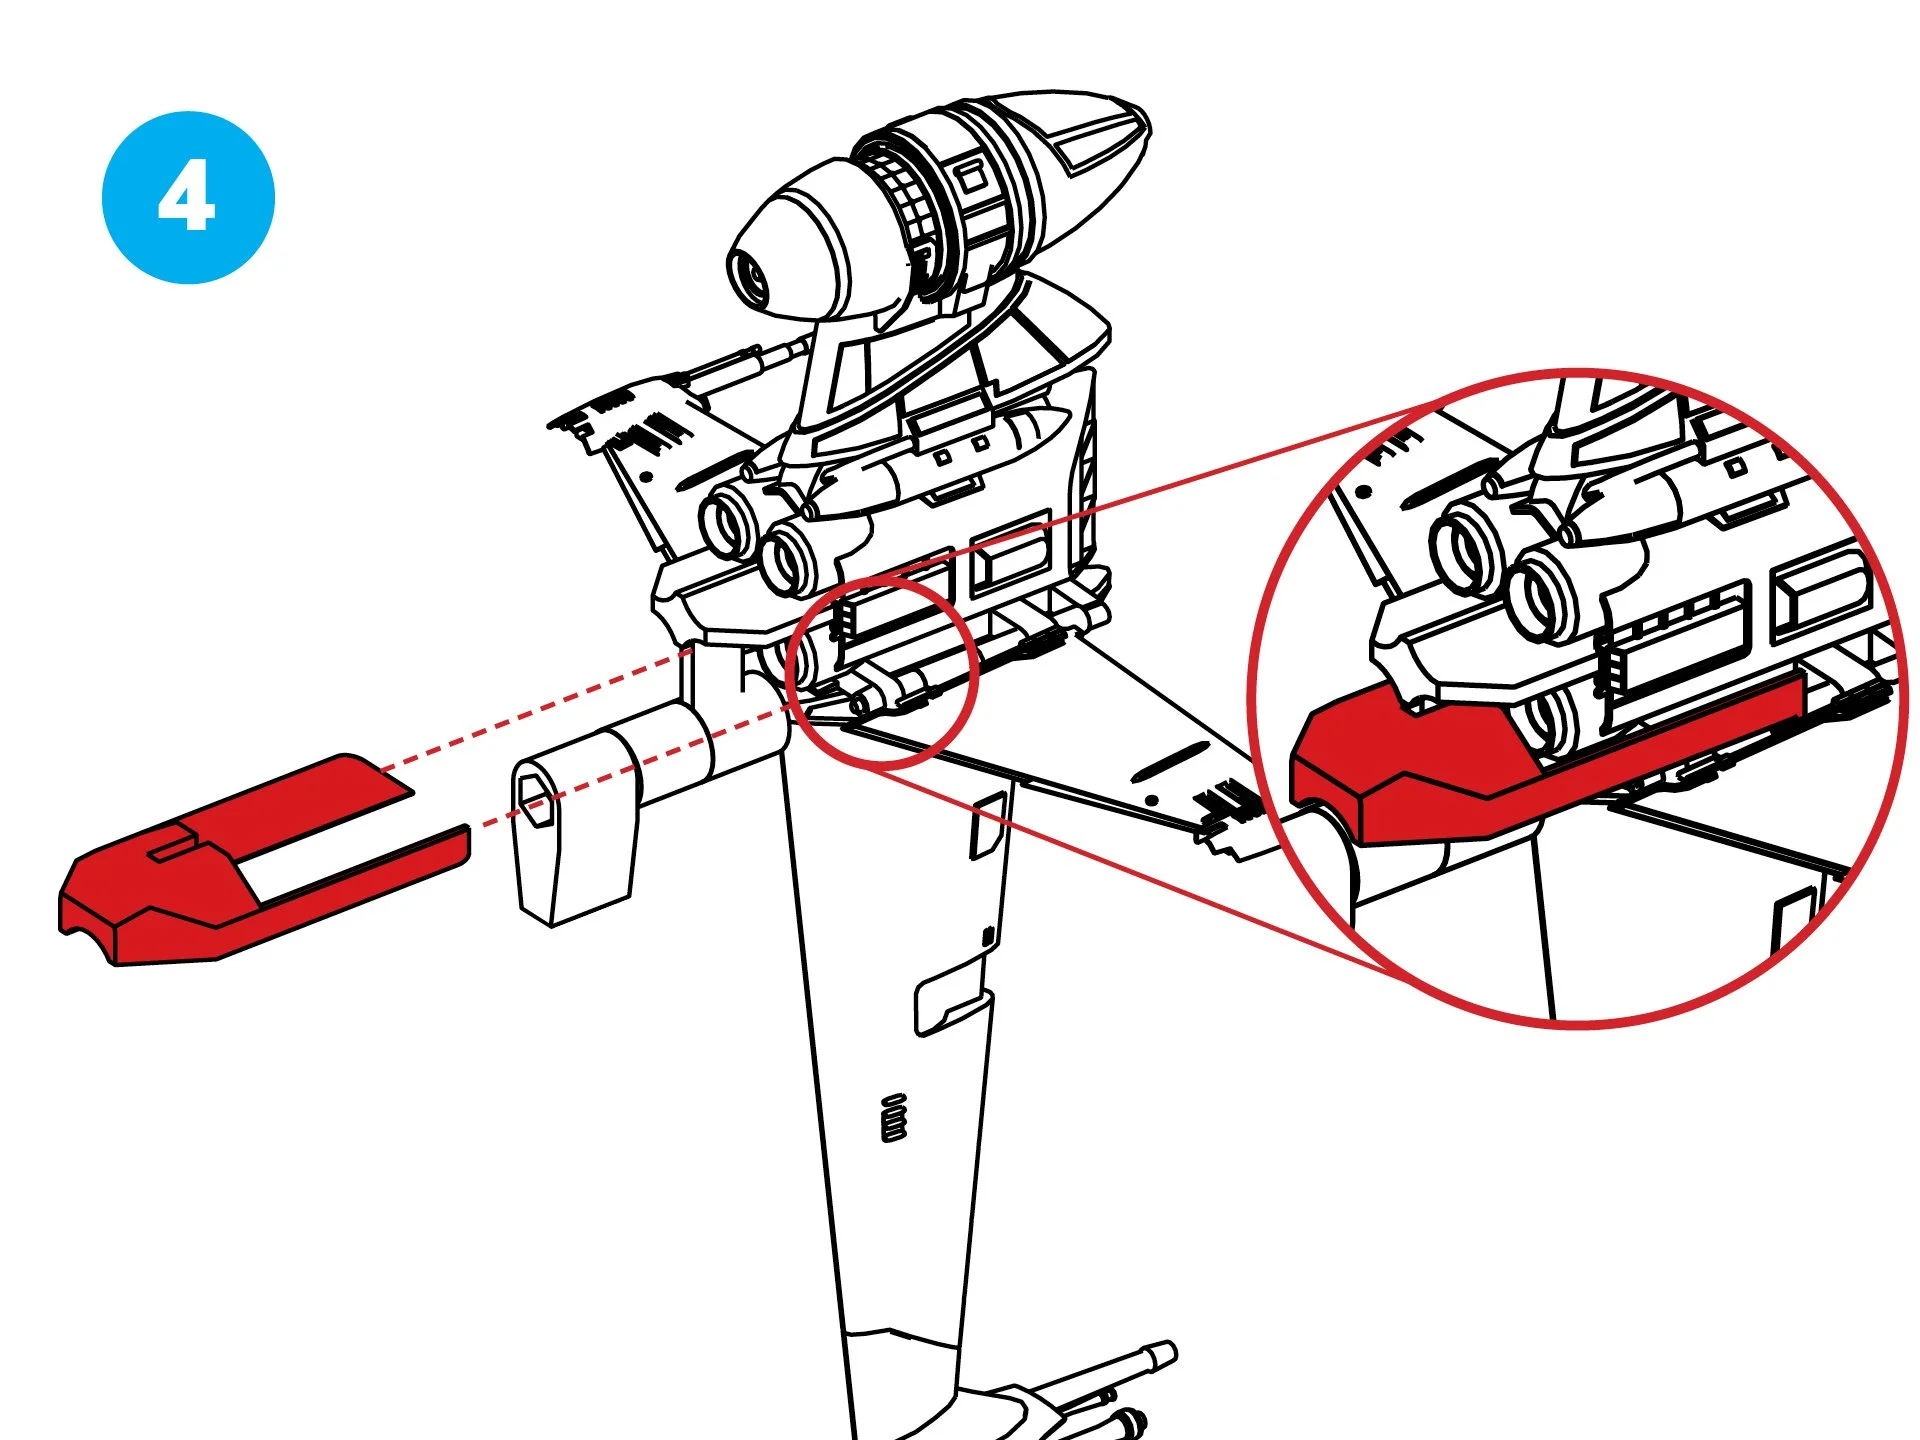
Some B-Wings have varying thruster spacing, so I’ve designed a stabilizer to address this issue. If the mount is loose, position the stabilizer over the Swivel Mount assembly and slide it into place on the ship’s sides.

Adjust the Swivel Mount/Bolt Sleeve to your desired angle
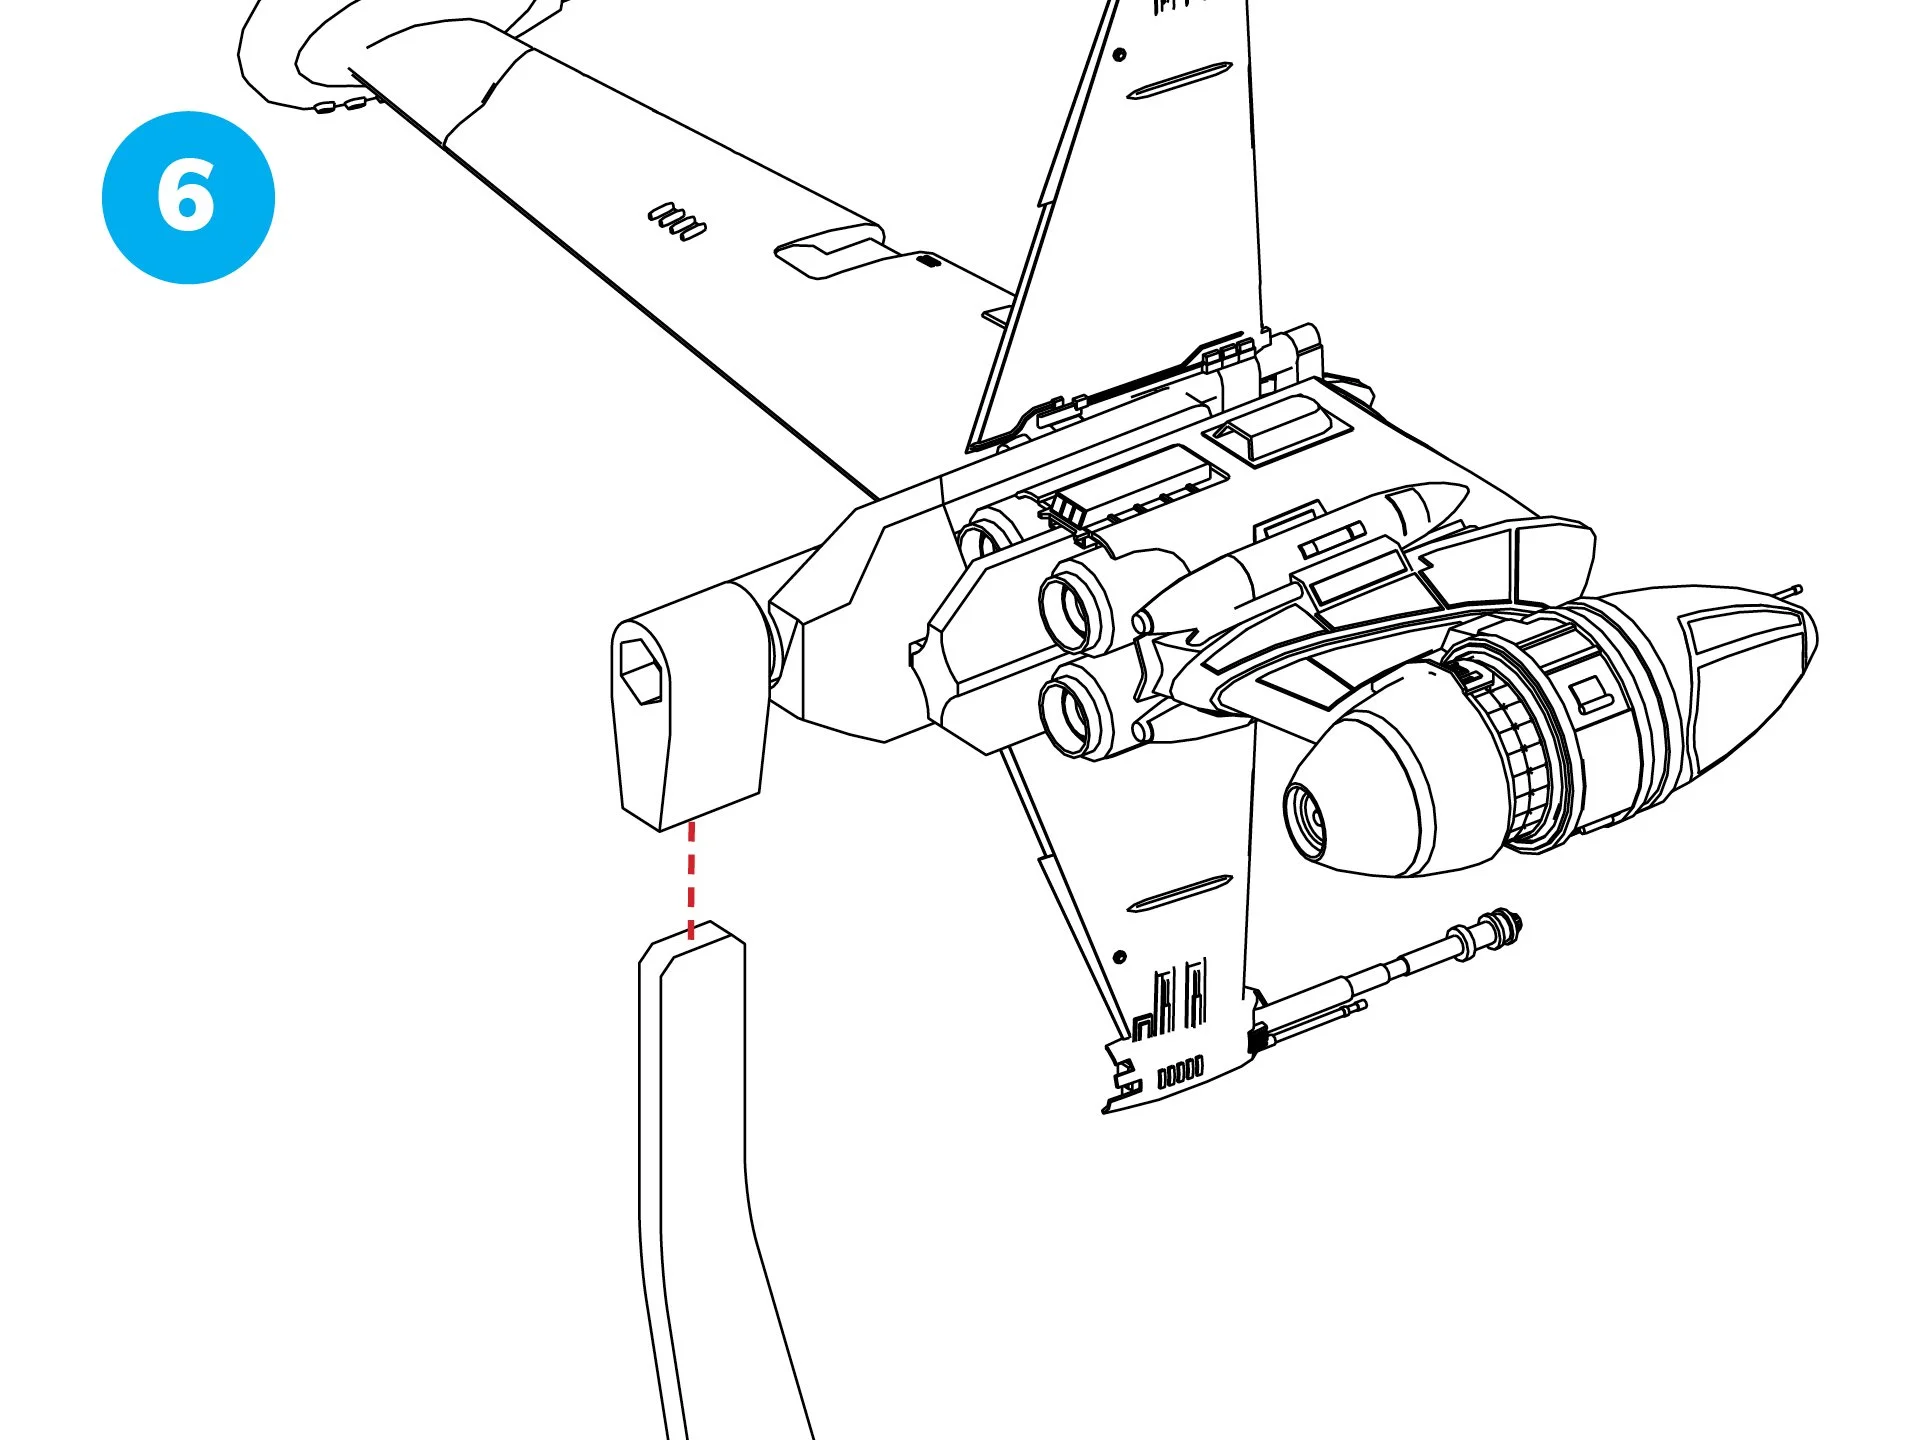
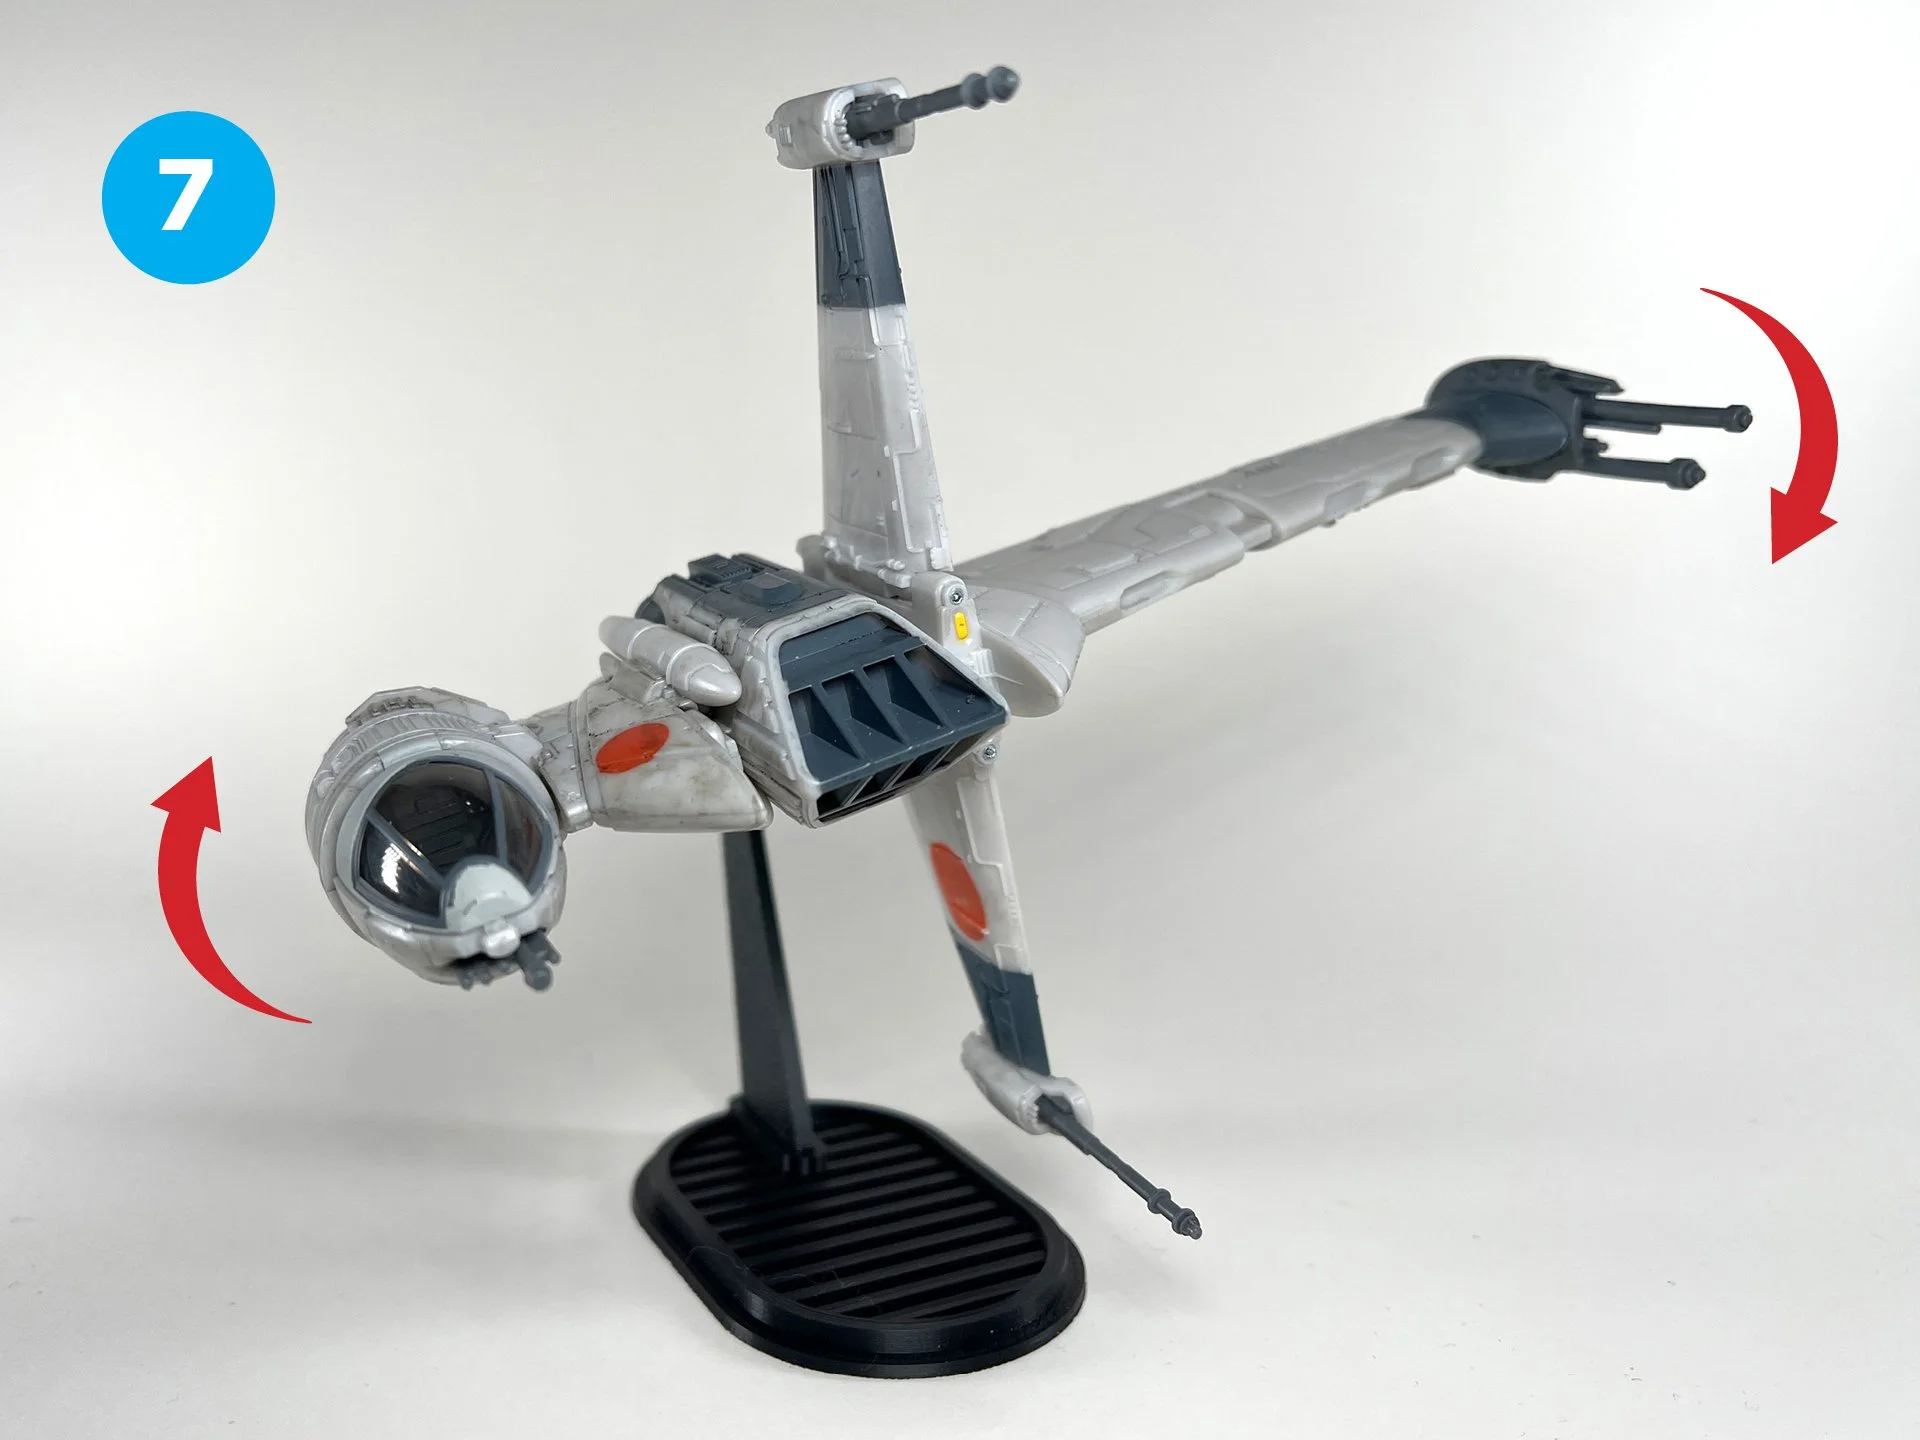
Slide the Swivel Mount/Bolt Sleeve assembly onto the Upright.
Your B-Wing is now ready for display!
Instructions
(142 mm Version)
Align the bottom of the Upright with the slot located on the top of the Base.
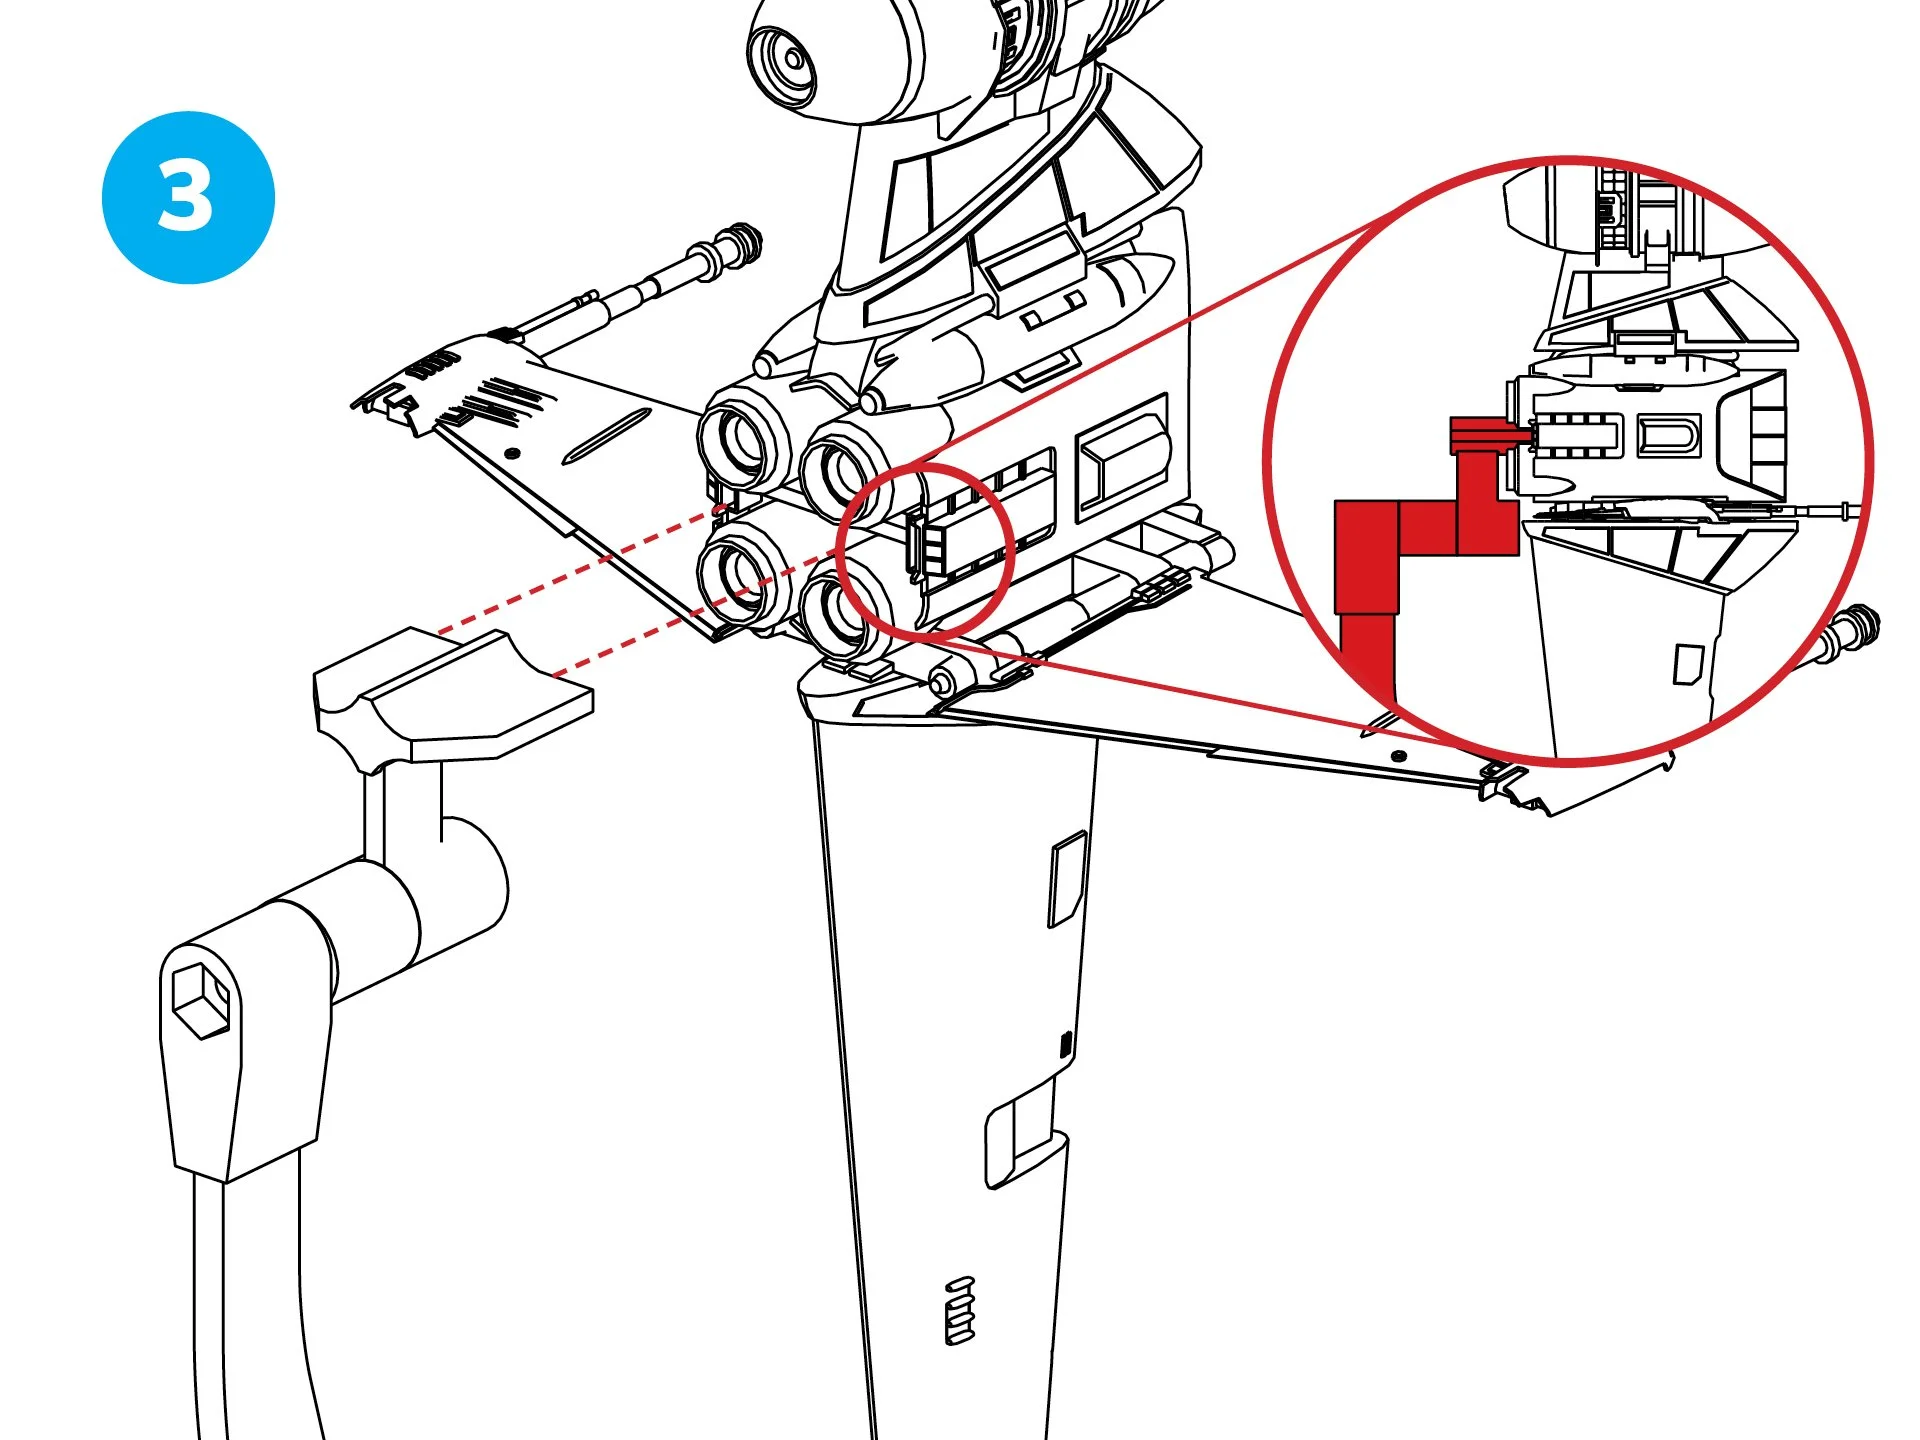
Begin by inserting the hooked rear of the Upright.
Press front down firmly until it locks in place. (Optional: Apply a small drop of superglue for extra stability, then let it dry.)
Secure the Swivel Mount assembly by sliding it between the thrusters at the rear of the ship.
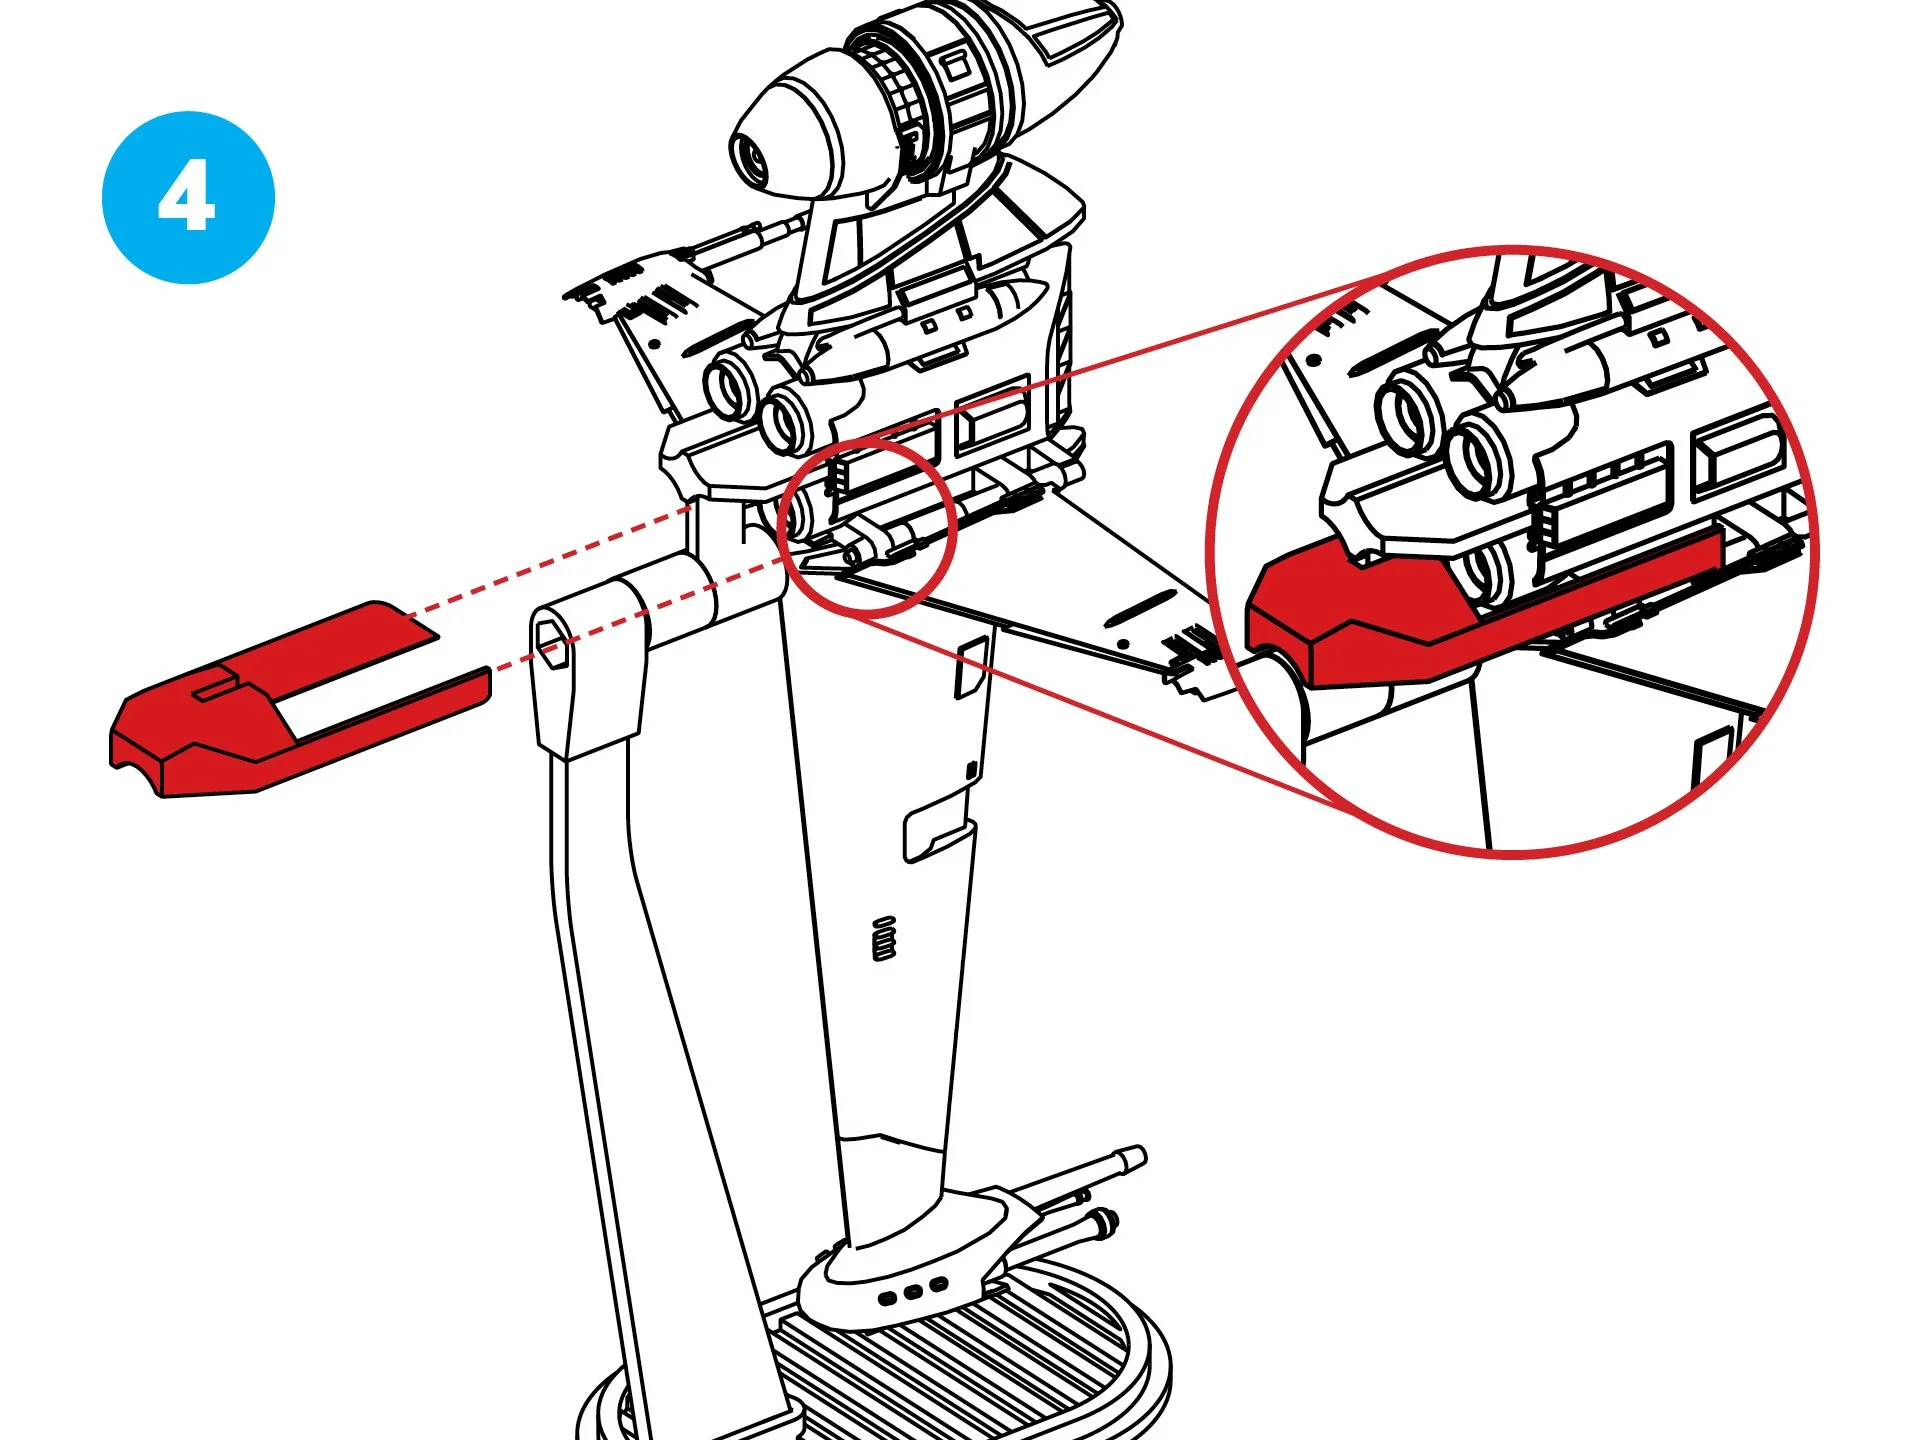
Some B-Wings have varying thruster spacing, so I’ve designed a stabilizer to address this issue. If the mount is loose, position the stabilizer over the Swivel Mount assembly and slide it into place on the ship’s sides.

The Swivel Mount/Bolt Sleeve assembly secures the ship while enabling rotational adjustments.
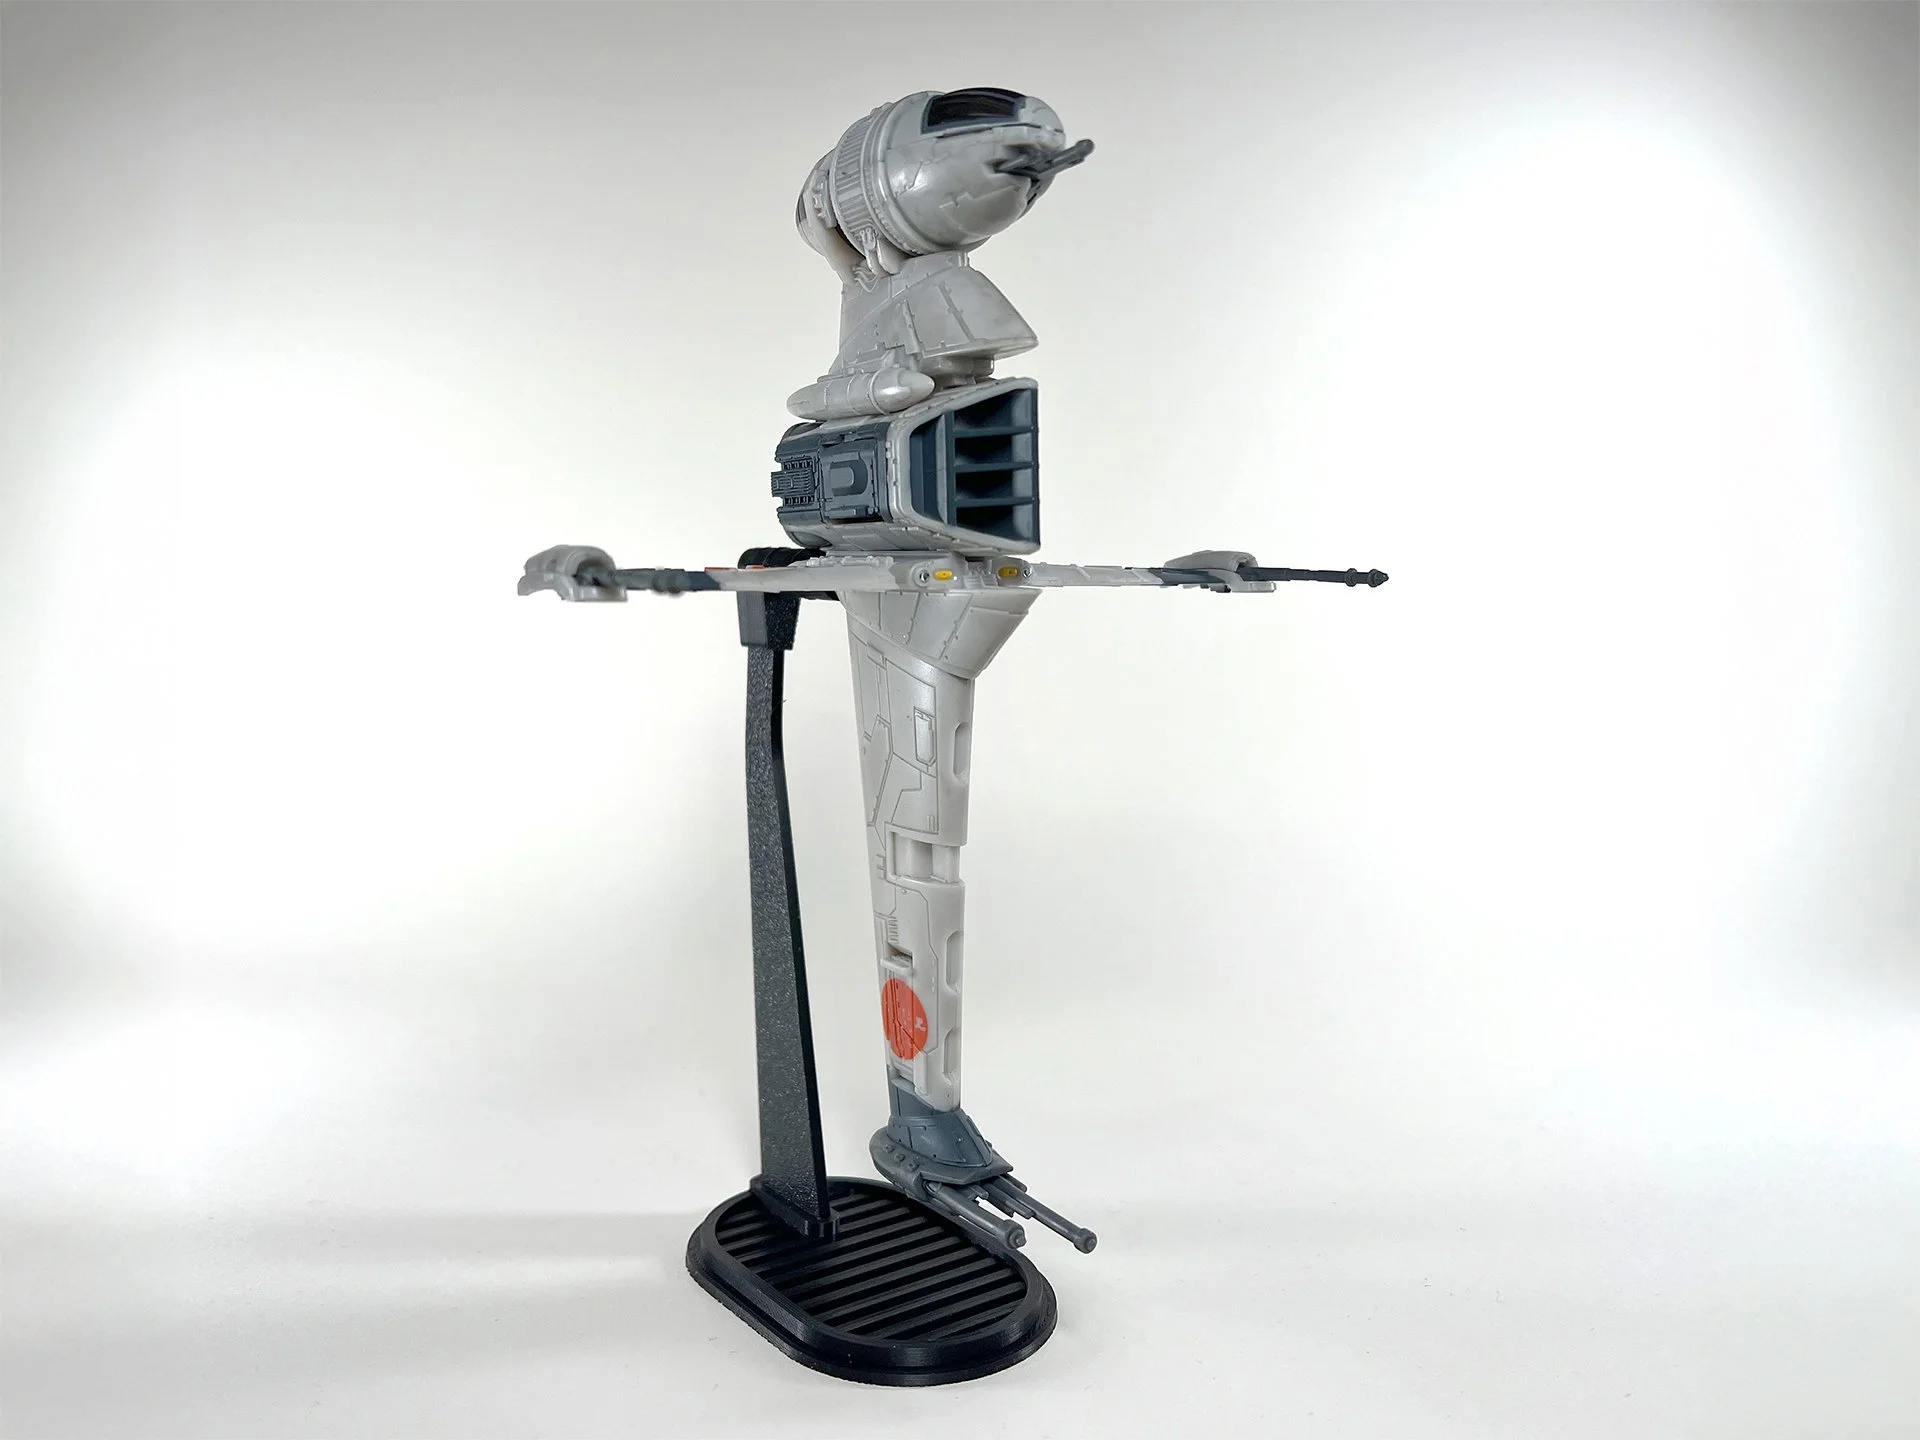
Your B-Wing is now ready for display!